When it comes to painting, having the right tools can make all the difference. Whether you’re a DIY enthusiast or a professional painter, understanding the various painting tools and their uses can save you time, effort, and ensure a high-quality finish. This guide will walk you through the essential painting tools, from basic brushes and rollers to advanced paint sprayers and edgers. Let’s dive in and explore the world of painting tools!
Basic Painting Tools
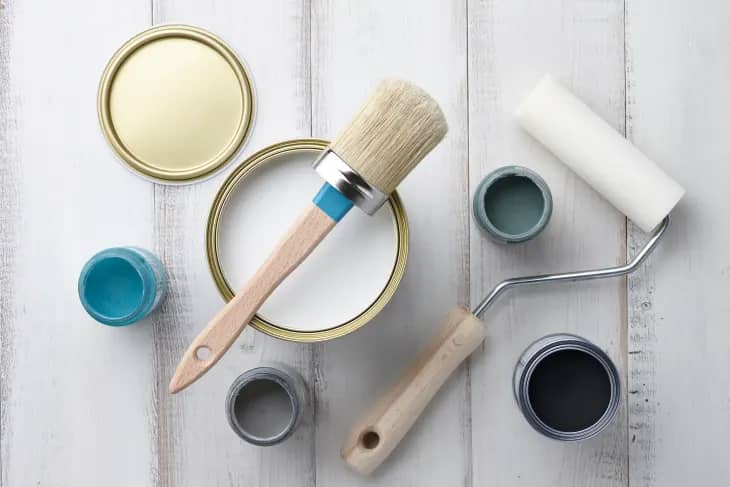
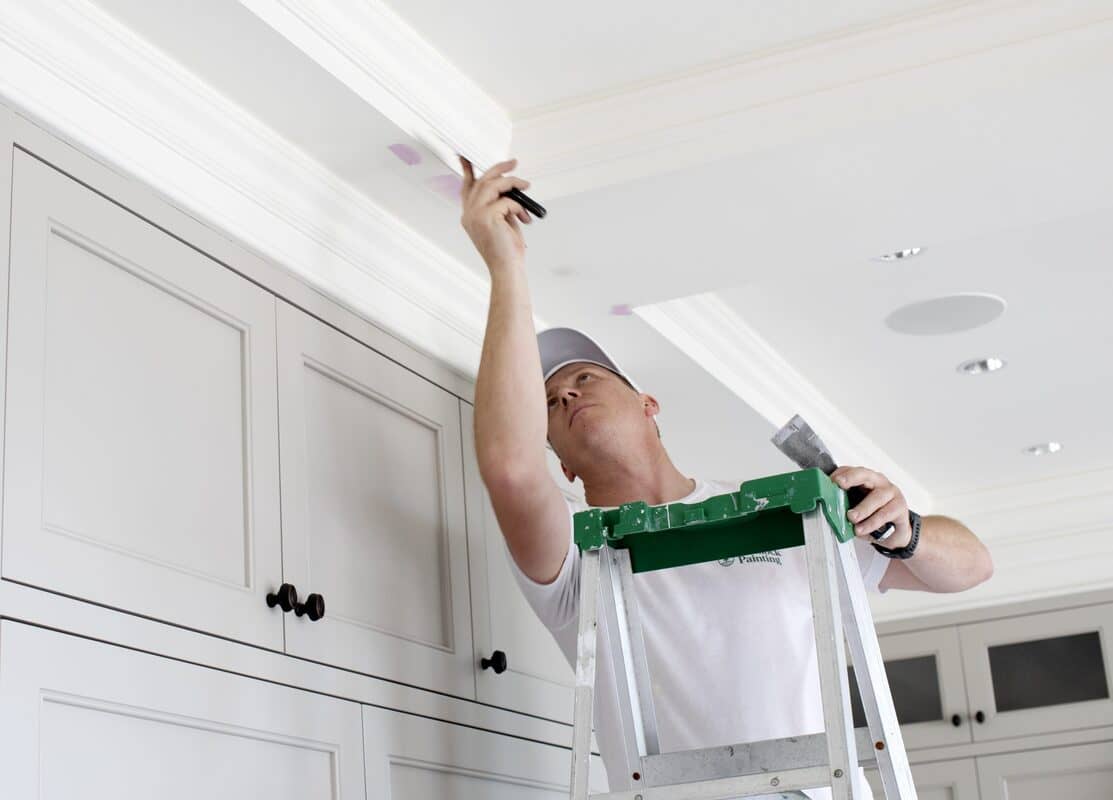
Brushes
Brushes are a staple in any painter’s toolkit. They come in a variety of shapes and sizes, each designed for specific tasks. Here’s a quick rundown:
- Flat Brushes: Ideal for large, flat surfaces. They hold a lot of paint and provide a smooth finish.
- Angled Brushes: Perfect for cutting in around edges and corners. The angled bristles allow for precision.
- Round Brushes: Best for detailed work and painting in small areas.

Pro Tip: Use a high-quality brush to avoid bristle loss, which can ruin your paint job.
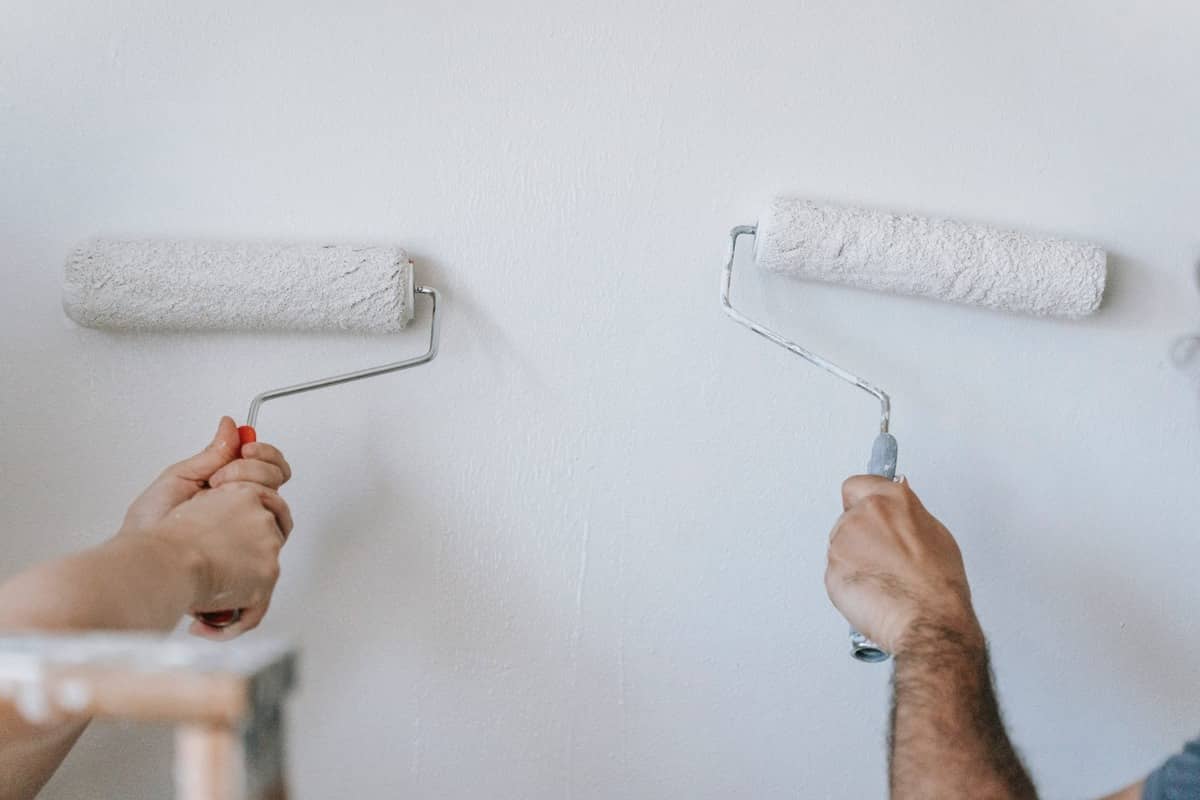
Rollers
Rollers are fantastic for covering large areas quickly and efficiently. They also come in different types:
- Foam Rollers: Great for smooth surfaces like doors and cabinets. They provide a fine finish with minimal texture.
- Nap Rollers: Available in various lengths (short, medium, long), these are suitable for textured surfaces like walls and ceilings.
Paint Trays
A good paint tray can make your painting process much more manageable. Look for features like:
- Deep Wells: To hold more paint and reduce the need for frequent refills.
- Ridges: To evenly distribute paint on your roller and prevent drips.

Quick Tip: Line your paint tray with aluminum foil or a disposable liner for easy cleanup!
Advanced Painting Tools
Paint Sprayers
Paint sprayers are a game-changer for large projects or when you need a super smooth finish. There are different types of sprayers to consider:
- Airless Sprayers: Ideal for large surfaces like walls and fences. They provide a high-speed, even coat.
- HVLP (High Volume Low Pressure) Sprayers: Best for detailed work and furniture. They offer more control and less overspray.
Edgers and Trimmers
Edgers and trimmers are essential for achieving clean, crisp lines, especially when painting around trim, doors, and windows. Types include:
- Pad Edgers: Equipped with a pad that holds paint, they allow for precise application along edges.
- Wheel Trimmers: Feature small wheels to guide the tool along edges, ensuring straight lines.
Pro Tip: Practice using edgers and trimmers on scrap material before tackling your main project to get the hang of it.
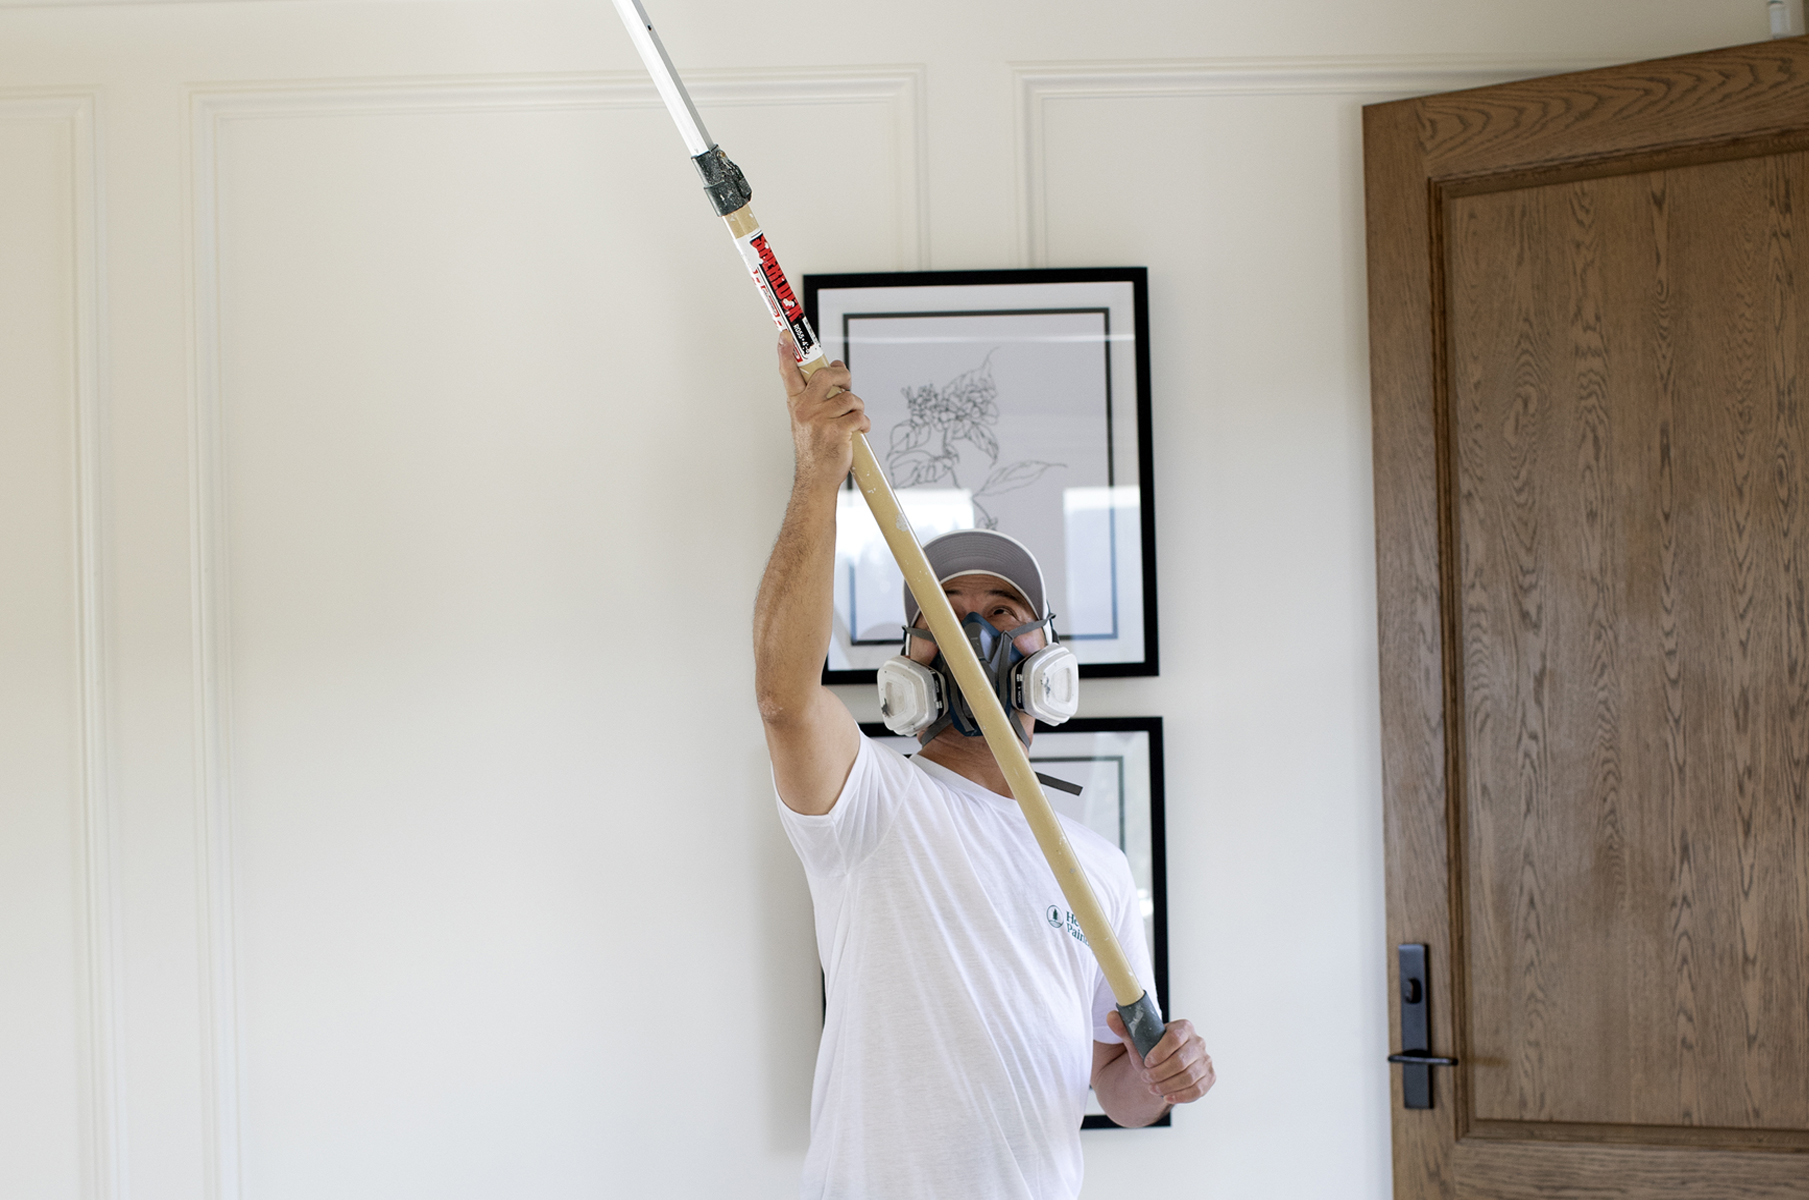
Extension Poles
Extension poles are invaluable for reaching high places without the need for a ladder. Benefits include:
- Adjustable Lengths: Most poles are telescopic, allowing you to adjust the length as needed.
- Universal Threads: Compatible with most roller frames and brushes.
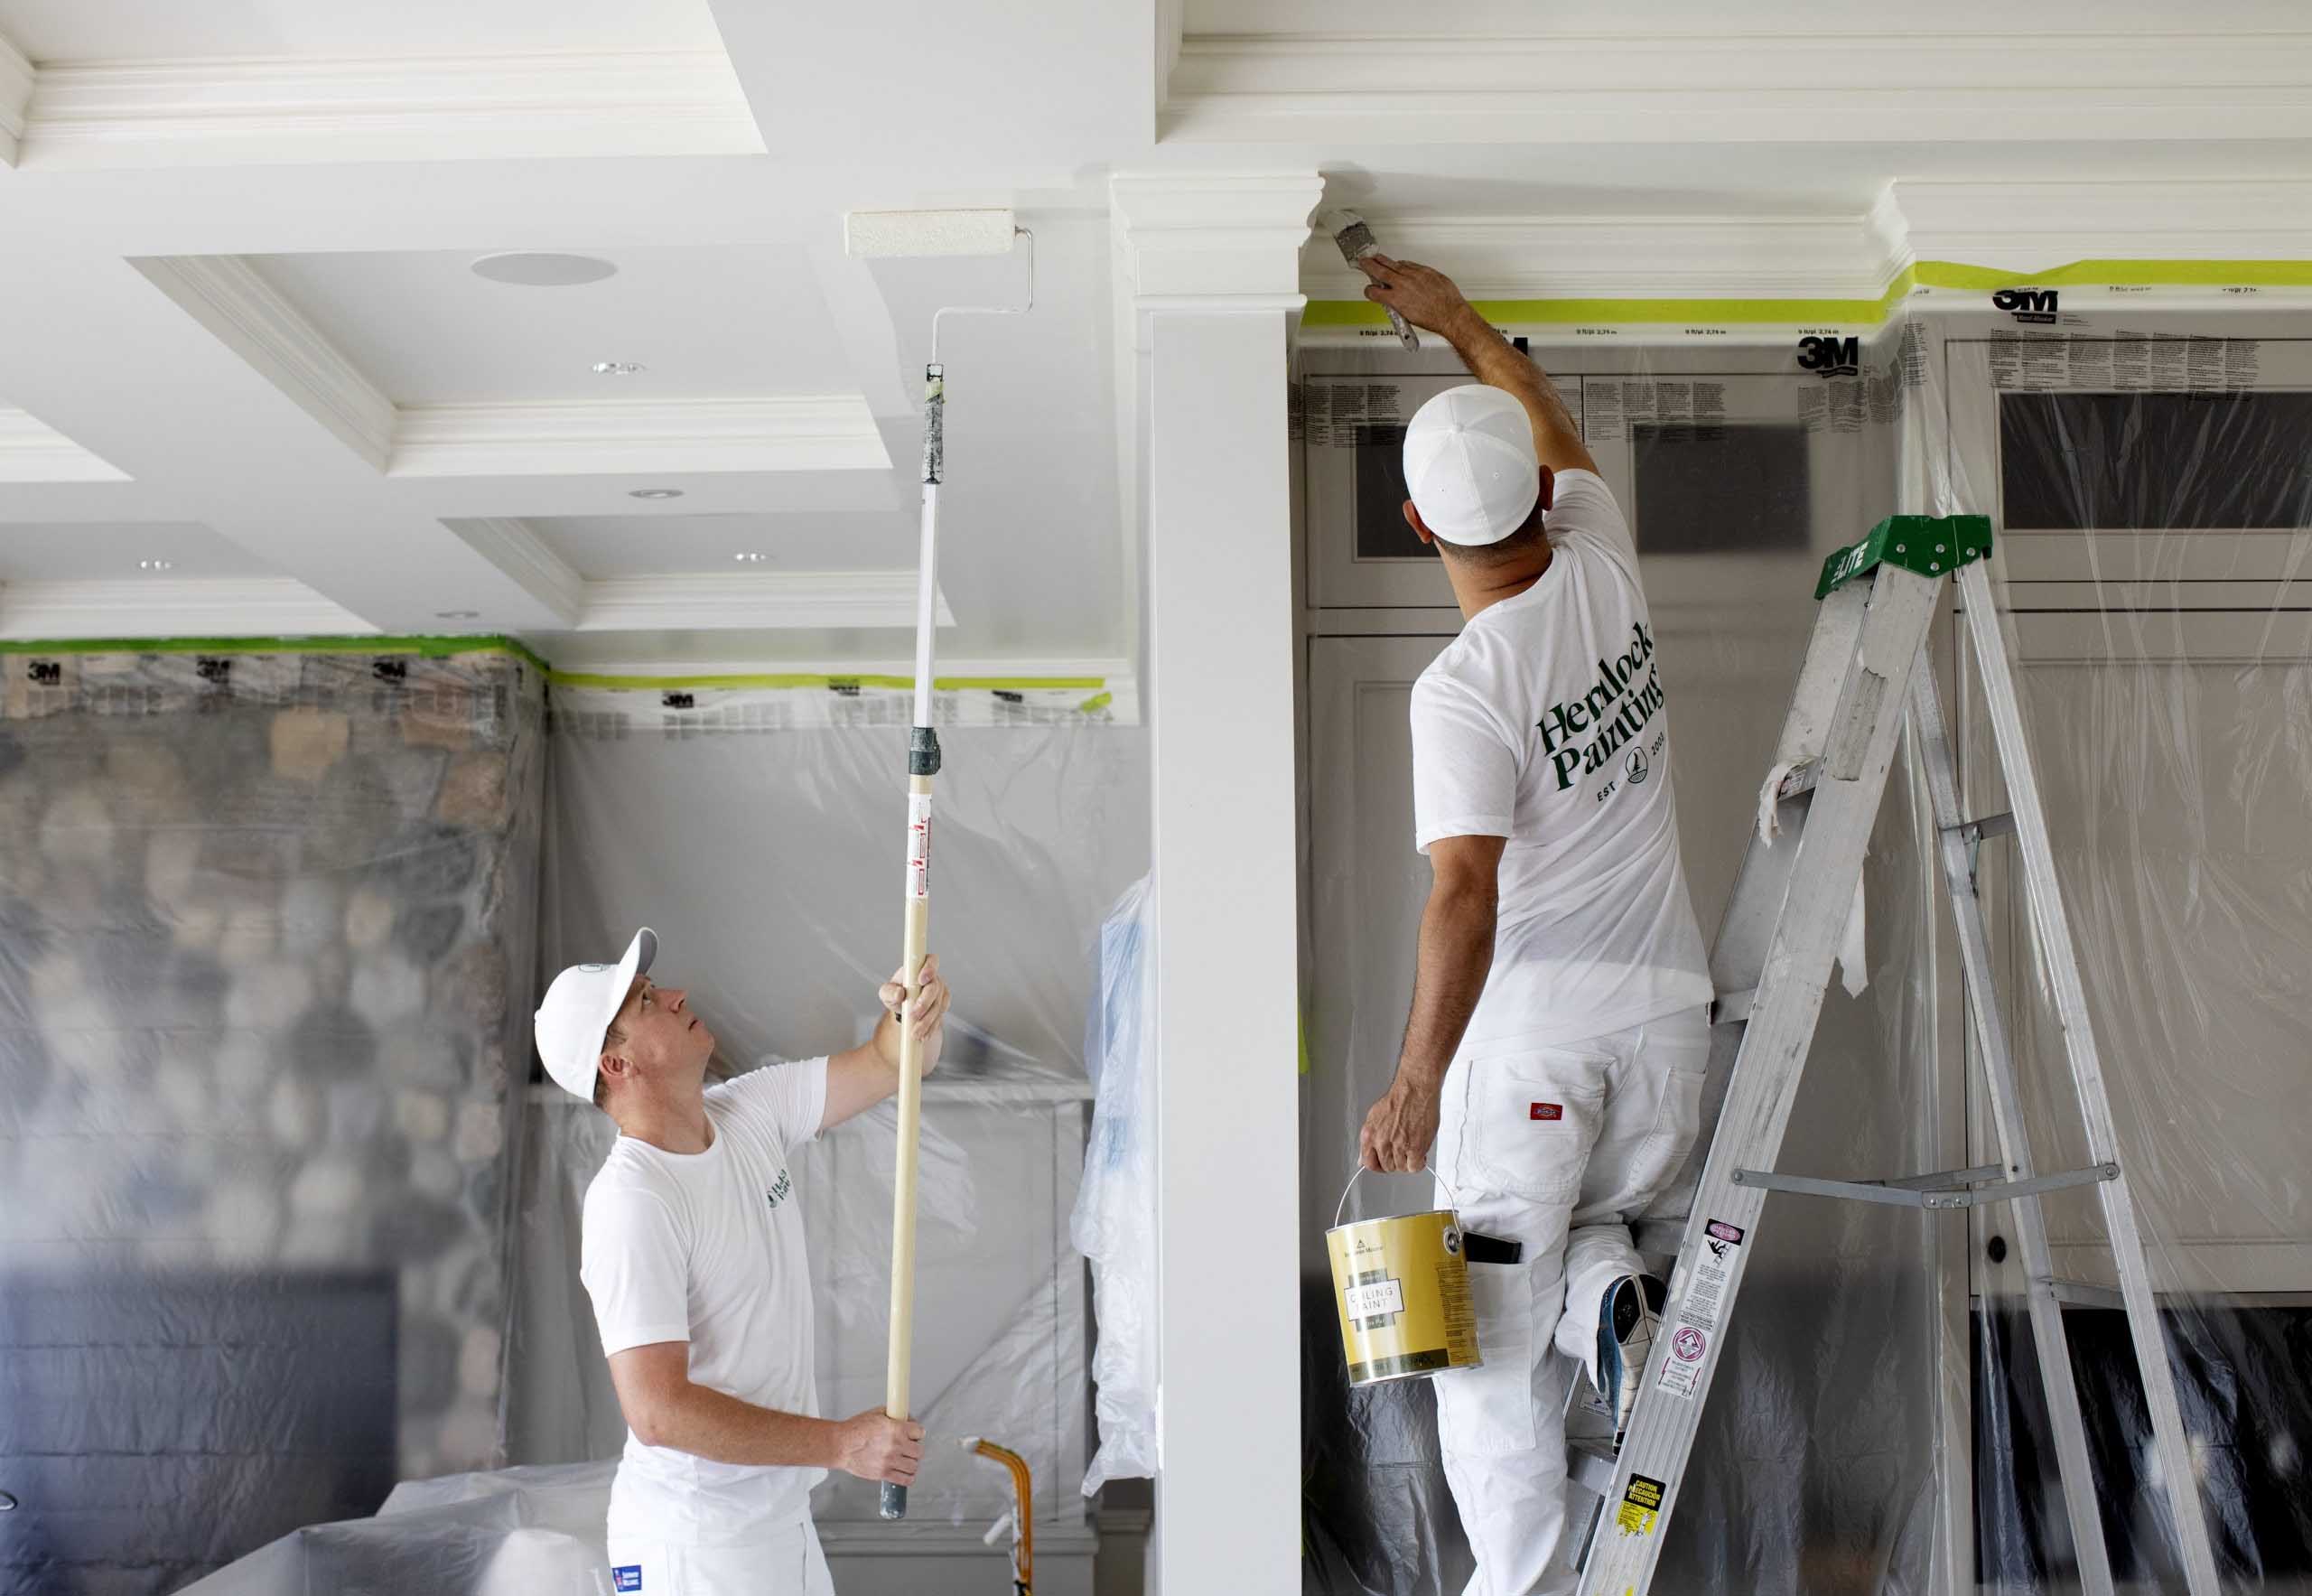
Fun Fact: Using an extension pole can reduce strain on your back and shoulders by allowing you to paint while standing upright.
Surface Preparation Tools
Sandpaper and Sanding Blocks
Proper surface preparation is key to a smooth, long-lasting paint job. Sandpaper and sanding blocks are essential tools for this task. Here’s what you need to know:
- Types of Sandpaper Grits: Sandpaper comes in various grits, each suited for different purposes.
- Coarse Grit (40-60): Removes old paint and rough surfaces.
- Medium Grit (80-120): Smooths surfaces and prepares them for painting.
- Fine Grit (150-220): Ideal for final sanding before applying paint.
| Grit Type | Grit Number Range | Uses |
|---|---|---|
| Coarse | 40 – 60 | Removing old paint, rough surfaces, initial sanding of rough wood, and shaping wood. |
| Medium | 80 – 120 | Smoothing surfaces, removing small imperfections, preparing bare wood for finishing. |
| Fine | 150 – 220 | Final sanding before painting or staining, between coats of finish. |
| Very Fine | 240 – 320 | Light sanding between coats of finish, final finishing of wood. |
| Extra Fine | 360 – 600 | Sanding between coats of varnish, polyurethane, or other finishes. |
| Super Fine | 800 – 1000 | Polishing metal and other surfaces, ultra-smooth sanding. |
Quick Tip: Use a sanding block to wrap your sandpaper around. It provides a better grip and ensures even sanding.
Scrapers
Scrapers are handy for removing old paint, wallpaper, or debris from surfaces. Here are some types and tips:
- Flat Scrapers: Perfect for scraping off paint from flat surfaces.
- Multi-Tool Scrapers: Equipped with various edges and blades to tackle different tasks.
Putty Knives
Putty knives are essential for applying and smoothing putty or filler on surfaces. They come in different widths:
- Narrow Knives (1-2 inches): Ideal for small areas and detailed work.
- Wide Knives (3-6 inches): Best for covering large areas.
Fun Fact: A flexible putty knife works best for spreading putty, while a stiff one is better for scraping.
Safety Equipment
Masks and Respirators
Safety should always be a priority when painting. Masks and respirators protect you from inhaling harmful fumes and particles. Here’s what you need:
- Dust Masks: Suitable for sanding and minor painting jobs.
- Respirators: Essential for spray painting and using solvent-based paints.
Protective Clothing
Wearing the right clothing can protect your skin and clothes from paint splatters. Consider these options:
- Coveralls: Provide full-body protection and are usually disposable.
- Aprons: Protect your clothes and are easy to put on and take off.
Pro Tip: Wear long sleeves and gloves to protect your skin from paint and chemicals.
Clean-Up and Maintenance Tools
Brush and Roller Cleaners
Properly cleaning your brushes and rollers extends their life and maintains their performance. Here’s how to do it:
- Brush Cleaners: Use a brush comb to remove paint from the bristles. Wash with warm soapy water for latex paint or a solvent for oil-based paint.
- Roller Cleaners: Rinse rollers thoroughly under running water. Use a roller cleaner tool to remove excess paint and water.
Quick Tip: Hang brushes and rollers to dry to maintain their shape.
Paint Strainers
Using paint strainers ensures a smooth finish by removing lumps and debris from the paint. Here’s why they’re essential:
- Prevent Clogs: Straining paint prevents clogging in sprayers and ensures a smooth application.
- Enhance Finish: Strained paint provides a cleaner, more professional finish.
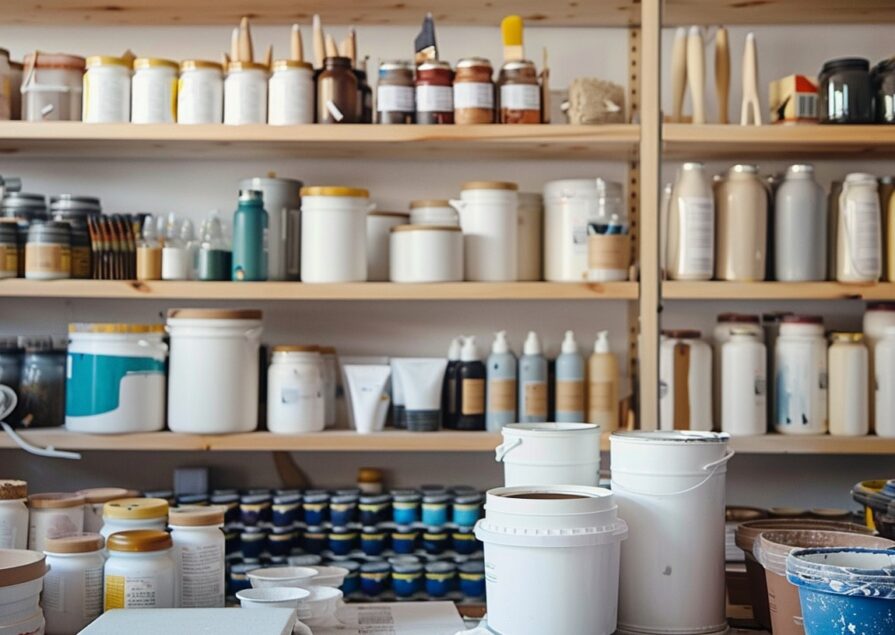
Storage Solutions
Proper storage of paint and tools can save you money and time in the long run. Consider these tips:
- Seal Paint Cans: Use plastic wrap under the lid to create an airtight seal.
- Organize Tools: Keep brushes, rollers, and other tools in a clean, dry place to prevent damage.
Conclusion
Summarizing all the key points we’ve discussed, using the right painting tools can dramatically improve the quality and efficiency of your work. From basic tools like brushes and rollers to advanced equipment like paint sprayers, each tool has its unique purpose and benefits. Proper surface preparation and safety measures are essential for a successful painting project. Investing in quality tools and maintaining them properly ensures they last longer and perform better.
FAQs
- What type of brush is best for cutting in edges?
- An angled brush is best for cutting in edges. It allows for precise control and can create clean, straight lines along edges and corners.
- How do I clean a paint sprayer after use?
- To clean a paint sprayer, first, flush out any remaining paint with the appropriate solvent (water for latex paint, mineral spirits for oil-based paint). Disassemble the sprayer and clean each part thoroughly with a brush and solvent. Reassemble the sprayer after all parts are dry.
- Can I use a roller for all painting jobs?
- While rollers are great for large, flat surfaces, they are not ideal for detailed work or painting edges. For those areas, use brushes or edgers for the best results.
- What is the best way to store leftover paint?
- Store leftover paint in its original container with a tight seal. Place plastic wrap under the lid before sealing it to create an airtight seal. Store the paint in a cool, dry place away from direct sunlight.
- How often should I replace my painting tools?
- The frequency of replacing painting tools depends on their quality and how well you maintain them. High-quality brushes and rollers can last for years with proper care. Replace tools when they show signs of wear, such as frayed bristles or damaged roller covers.