Why Timing Matters for Interior Painting
Interior painting isn’t just about slapping on a coat of paint whenever you feel like it. Timing plays a crucial role in ensuring a high-quality, long-lasting finish. You might think that because you’re painting inside, the weather outside doesn’t matter. But guess what? It does! The temperature and humidity levels can significantly impact how well the paint adheres to surfaces and how it dries and cures.
Think about it: have you ever tried to paint a room in the middle of a humid summer day? The paint can become tacky, taking forever to dry, and you might end up with a less-than-smooth finish. On the other hand, painting in the dead of winter when the air is dry and the heating is cranked up can cause the paint to dry too quickly, leading to cracks and a less durable finish.
So, when is the best time to paint your interiors? Let’s dive into the specifics of each season and understand how to plan your painting project for the best results.
Seasonal Considerations for Interior Painting
Painting in Spring
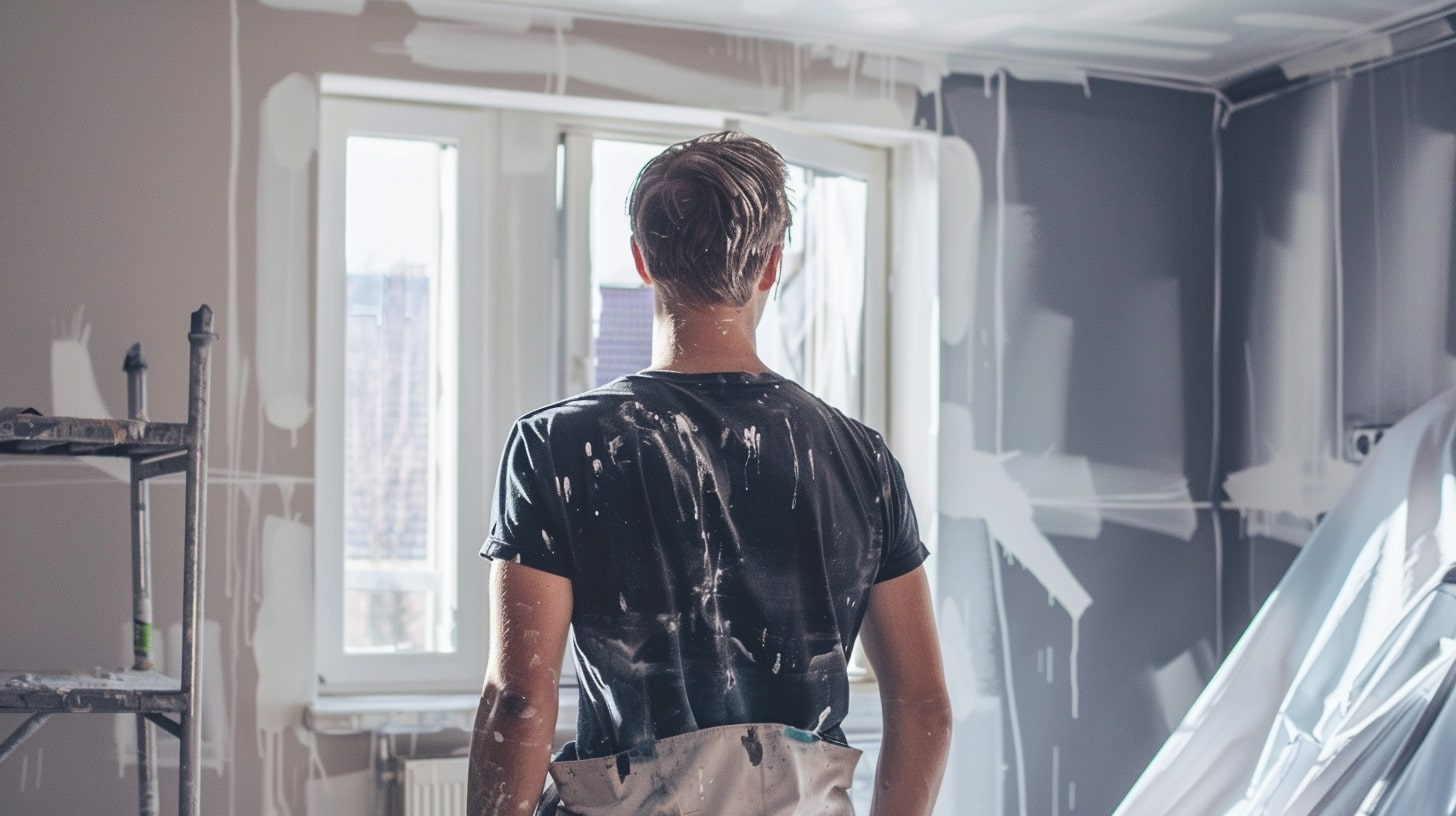
Spring is often considered one of the best times for interior painting. The temperatures are usually mild, and humidity levels are moderate, making it easier for the paint to dry properly. Here are some reasons why spring might be your best bet:
- Benefits of Spring Painting
- Ideal Temperatures: Spring provides a sweet spot for painting, avoiding the extremes of summer and winter.
- Good Ventilation: You can open windows without worrying about extreme cold or heat, which helps in dispersing paint fumes and speeding up the drying process.
- Longer Days: More daylight means you can work longer without relying on artificial lighting, which can sometimes alter the appearance of colours.
- Challenges of Spring Painting
- Unpredictable Weather: Spring weather can be fickle, with sudden showers or temperature drops, so you need to keep an eye on the forecast.
- Allergies: If you or your family members suffer from spring allergies, the increased pollen in the air might make it uncomfortable to have windows open for ventilation.
Painting in Summer
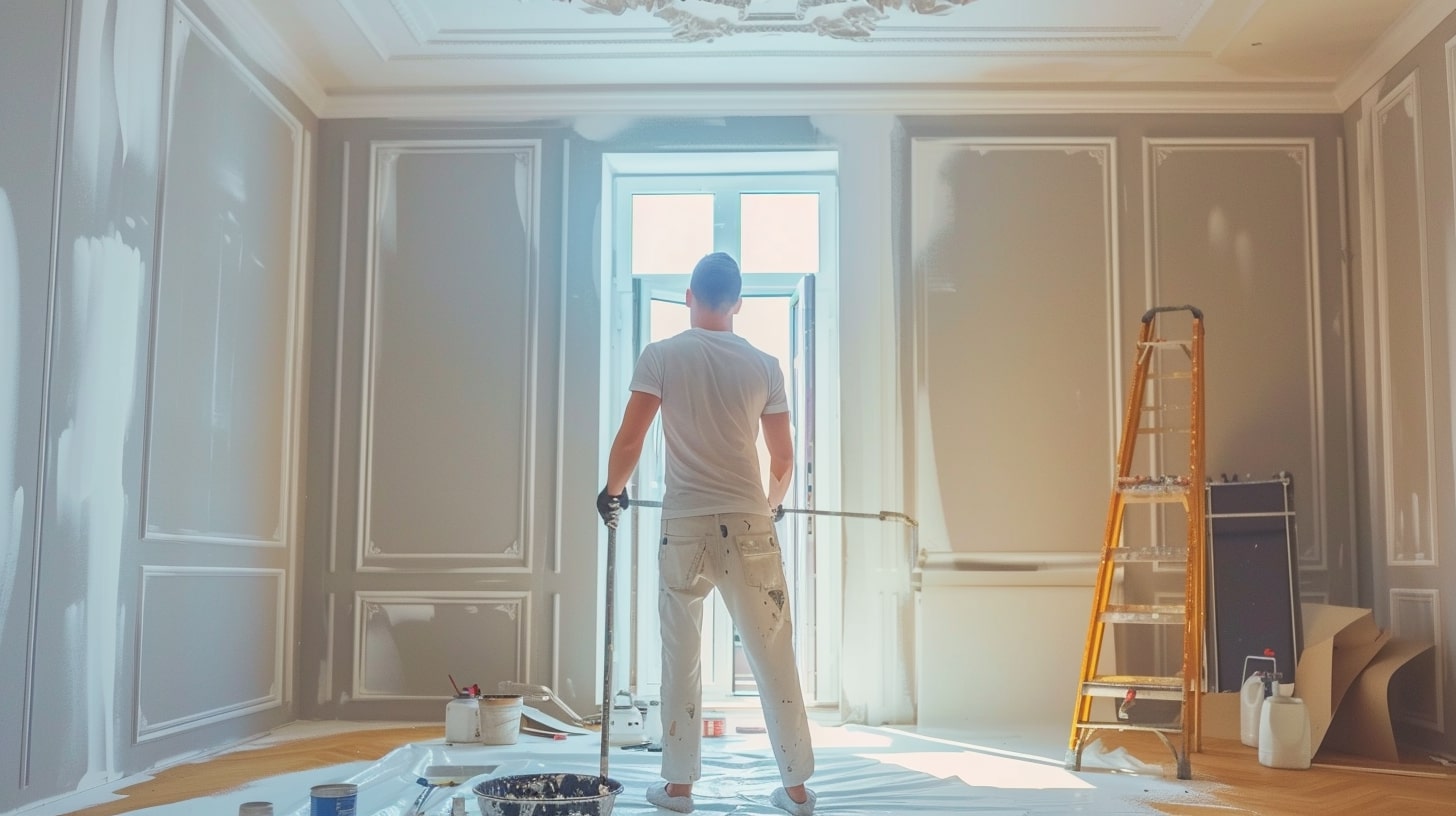
Summer can be a great time for interior painting, especially if you plan it right. Here’s why summer might work for you:
- Benefits of Summer Painting
- Consistent Weather: Summer generally provides stable and predictable weather conditions, making it easier to plan your painting project.
- Quick Drying: Warm temperatures can help paint dry faster, which is great if you’re in a hurry to get the job done.
- Vacation Time: Many people take vacations during the summer, providing an excellent opportunity to paint while the house is empty.
- Challenges of Summer Painting
- High Humidity: Depending on where you live, summer can also mean high humidity, which can slow down the drying process and affect the paint’s finish.
- Heat: Extremely high temperatures can cause paint to dry too quickly, leading to cracking or peeling over time.
Painting in Fall
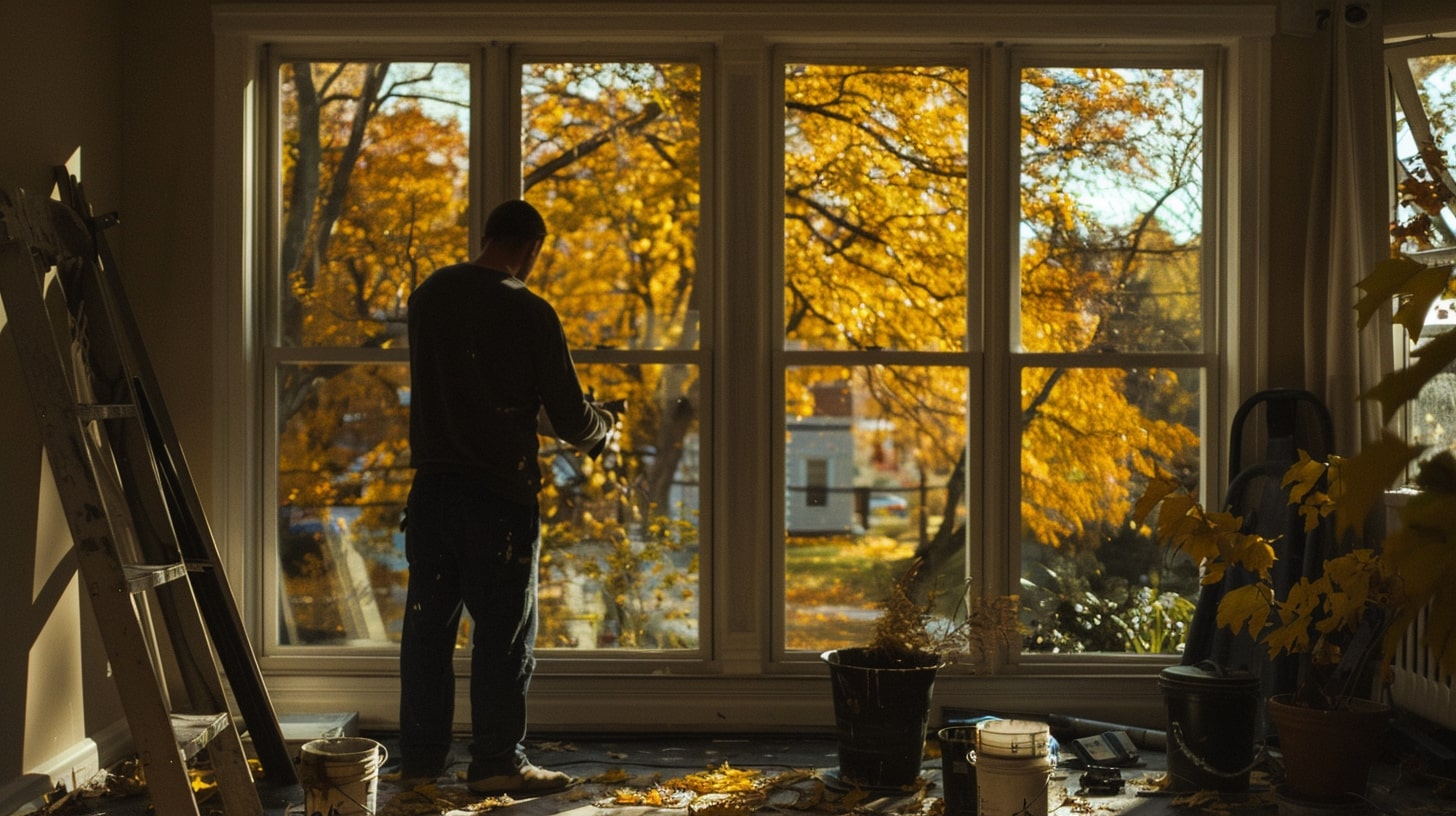
Fall is another favourite season for painting interiors. It offers a balanced climate that’s ideal for achieving a smooth finish.
- Benefits of Fall Painting
- Cooler Temperatures: Fall temperatures are cooler but not too cold, providing a comfortable working environment and optimal drying conditions.
- Stable Humidity: The humidity levels in fall are generally lower than in summer, reducing the risk of moisture-related issues with your paint job.
- Preparation for Holidays: Painting in the fall means your home will look fresh and inviting for the holiday season.
- Challenges of Fall Painting
- Shorter Days: With the days getting shorter, you’ll have less natural light to work with, which can affect the painting process.
- Cold Snaps: Early cold snaps can occur, which might catch you off guard and affect the drying process.
Painting in Winter
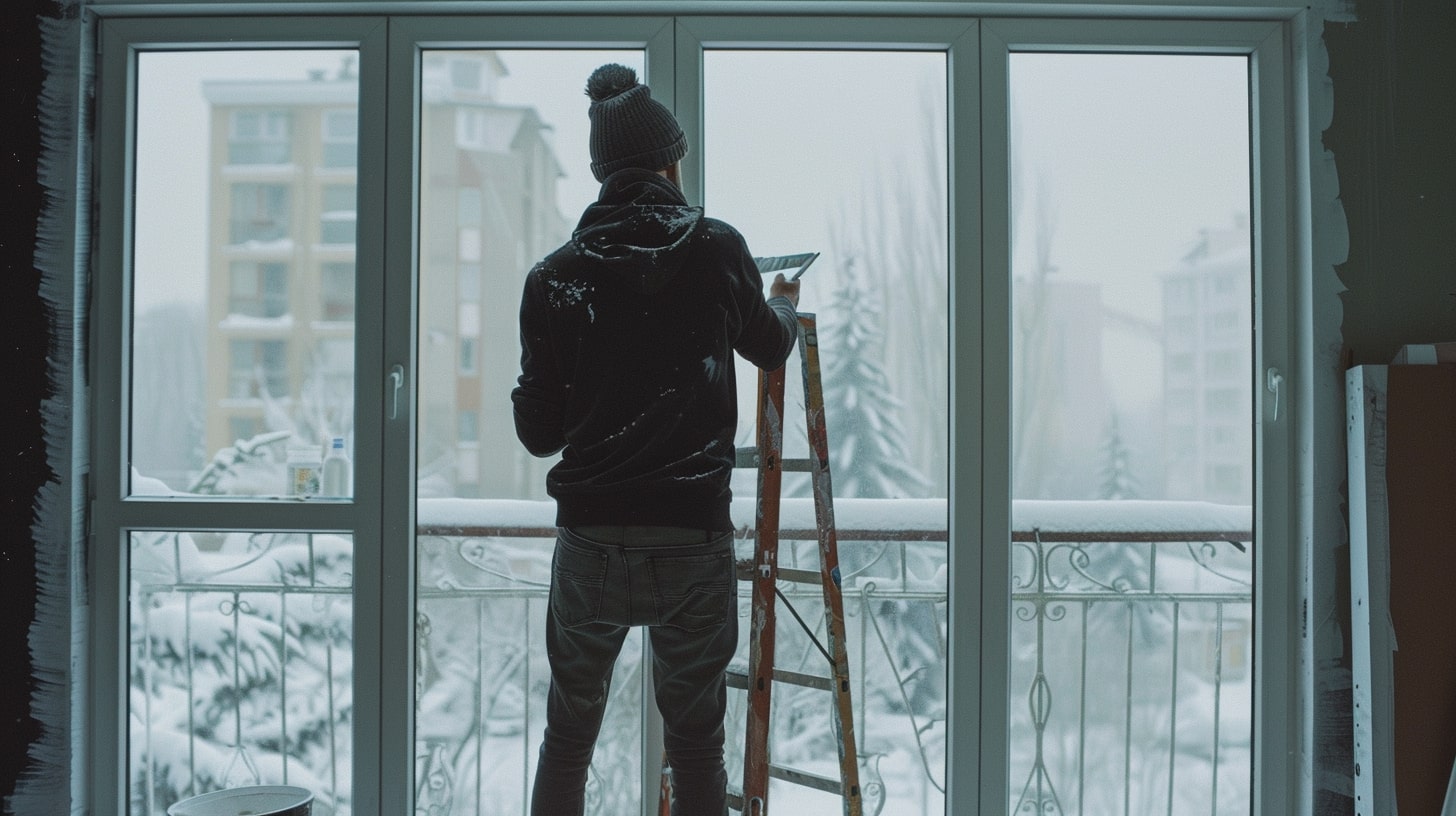
Winter might not be the first season that comes to mind for painting, but it has its perks if done right.
- Benefits of Winter Painting
- Indoor Focus: Since you’ll likely be spending more time indoors, it’s a great opportunity to tackle interior projects.
- Availability of Painters: Professional painters might have more availability in winter, as it’s typically a slower season for them.
- Holiday Deals: You might find discounts on painting services and supplies around the holiday season.
- Challenges of Winter Painting
- Cold Temperatures: Cold air can make paint thick and hard to apply smoothly. Also, windows are often kept closed, reducing ventilation.
- Dry Indoor Air: Heating systems can make the indoor air very dry, causing paint to dry too quickly and potentially crack.
Seasons Compared:
| Season | Pros | Cons |
|---|---|---|
| Spring |
|
|
| Summer |
|
|
| Autumn |
|
|
| Winter |
|
|
Optimal Conditions for Interior Painting
Ideal Temperature and Humidity Levels
Getting the perfect finish on your interior painting project means paying attention to the environment where you’re working. The ideal temperature for interior painting typically falls between 10°C and 25°C (50°F to 77°F). Painting within this range ensures that the paint flows smoothly and dries evenly.
Humidity also plays a significant role. Aim for a humidity level between 40% and 70%. Too much humidity can slow down the drying process and cause the paint to become tacky. Conversely, low humidity can make the paint dry too quickly, leading to an uneven finish and potential cracking.
- Temperature Tips:
- Avoid painting in extremely cold or hot weather.
- If you must paint in less-than-ideal temperatures, consider using a space heater or air conditioner to stabilize the room temperature.
- Humidity Tips:
- Use a dehumidifier if the air is too moist.
- In very dry conditions, use a humidifier to add moisture to the air.
Understanding Paint Drying and Curing Times
Drying and curing times are crucial for a professional-looking paint job. Drying is the initial phase where the paint feels dry to the touch, while curing is the process where the paint fully hardens and achieves its maximum durability.
- Drying Times:
- Latex paint: 1-2 hours to dry, 2-4 weeks to cure.
- Oil-based paint: 6-8 hours to dry, 7 days to cure.
- Tips for Ensuring Proper Drying and Curing:
- Avoid heavy traffic in freshly painted rooms until the paint is fully cured.
- Wait at least 24 hours before applying a second coat of paint.
Tips for Maintaining Optimal Conditions Indoors
Creating the right environment indoors can make a huge difference in your painting project’s success.
- Ventilation: Ensure good airflow by opening windows and using fans. Proper ventilation helps disperse paint fumes and speeds up drying.
- Temperature Control: Use heaters or air conditioners to maintain a stable temperature within the ideal range.
- Clean Surfaces: Dust and clean the surfaces before painting to ensure the paint adheres well and looks smooth.
Practical Tips for Planning Your Painting Project
Choosing the Right Paint and Materials
Selecting the right paint and materials is crucial for a successful painting project. Here are some tips:
- Types of Paint:
- Latex Paint: Easy to clean, quick drying, and less odorous.
- Oil-Based Paint: Durable, smooth finish, but longer drying time and stronger fumes.
- Materials:
- High-quality brushes and rollers
- Painter’s tape
- Drop cloths
Preparing Your Home for Painting
Preparation is key to achieving a professional finish. Here’s how to get started:
- Clearing and Covering Furniture:
- Move furniture to the center of the room and cover it with drop cloths.
- Remove wall hangings, outlet covers, and light fixtures.
- Ventilation and Safety Precautions:
- Open windows and use fans to ensure proper ventilation.
- Wear protective gear like masks and gloves to avoid inhaling fumes or getting paint on your skin.
DIY vs. Hiring Professional Painters
Deciding whether to DIY or hire a professional can be challenging. Here are some points to consider:
- Pros and Cons of DIY Painting:
- Pros:
- Cost savings
- Flexibility to work on your schedule
- Cons:
- Time-consuming
- Requires skill and patience
- Pros:
- Benefits of Hiring Professionals:
- Expertise and experience
- High-quality finish
- Saves time and effort
Scheduling and Time Management Tips
Effective scheduling and time management can make your painting project smoother.
- Creating a Realistic Timeline:
- Plan for preparation, painting, and cleanup time.
- Allow extra time for unexpected delays.
- Managing Interruptions and Delays:
- Have a backup plan for unforeseen interruptions.
- Stay flexible with your schedule to accommodate changes.
DIY vs Professional Compared:
| Factor | DIY Painting | Professional Painting |
|---|---|---|
| Cost | – Lower initial cost. – Only pay for materials and supplies. |
– Higher initial cost. – Includes labour and expertise fees. |
| Skill Level | – Requires basic painting skills. – Learning curve involved. |
– High skill level and expertise. – Professional training and experience. |
| Time | – Can be time-consuming. – Flexible schedule. |
– Quicker completion. – Scheduled timeframe. |
| Quality | – Variable, depending on personal skill. – Potential for imperfections. |
– Consistently high quality. – Professional finish with fewer mistakes. |
| Preparation | – Requires personal effort in preparation. – Move furniture, cover surfaces, and clean walls. |
– Professionals handle all prep work. – Efficient and thorough. |
| Cleanup | – Personal responsibility. – May be tedious and time-consuming. |
– Included in service. – Quick and efficient cleanup. |
| Flexibility | – Complete control over project timeline. – Ability to work at own pace. |
– Less control over scheduling. – Dependent on professional availability. |
| Safety | – Potential risks with ladders, fumes, and equipment. – Personal responsibility for safety. |
– Professionals trained in safety. – Use of proper equipment and techniques. |
| Material Costs | – Pay retail prices for materials. – May require additional purchases due to mistakes. |
– Access to professional-grade materials. – Often get discounts on supplies. |
| Equipment | – Need to purchase or rent painting tools and equipment. | – Professionals bring their own tools and equipment. – High-quality and well-maintained. |
| Customization | – Full creative control. – Ability to make changes anytime. |
– Limited to initial plan. – Changes may incur additional costs. |
| Stress Level | – Potentially high due to learning curve and physical labour. | – Lower stress. – Professionals handle all aspects of the project. |
| Warranty | – No warranty on personal work. – Responsibility for fixing mistakes. |
– Often include a warranty or guarantee. – Professionals handle touch-ups and repairs. |
| Durability | – May lack longevity due to potential for mistakes. | – Higher durability. – Proper techniques ensure long-lasting results. |
| Access to Techniques | – Limited to personal knowledge and research. – May not be aware of best practices. |
– Knowledge of latest techniques and trends. – Use of best practices for superior results. |
| Project Scope | – Best for small to medium projects. – Large projects can be overwhelming. |
– Capable of handling large projects. – Efficient management of extensive work. |
| Convenience | – Less convenient due to personal involvement. – Need to balance with daily responsibilities. |
– High convenience. – Professionals manage the entire process. |
| Risk of Mistakes | – Higher risk of errors and imperfections. – Inexperience can lead to costly redo. |
– Lower risk of mistakes. – Experience ensures accuracy and precision. |
| Learning Opportunity | – Great for learning new skills. – Sense of accomplishment. |
– Limited learning opportunity. – Focus on end result rather than process. |
Cost Considerations and Budgeting
Estimating Painting Costs
When planning an interior painting project, understanding the costs involved is essential. Here’s a breakdown of what you can expect:
- Cost of Paint and Supplies:
- Paint: The price of paint varies depending on the quality and type. Latex paint typically costs between $20 to $50 per gallon, while oil-based paint can range from $30 to $70 per gallon.
- Supplies: High-quality brushes, rollers, painter’s tape, drop cloths, and other materials can add up. Budget around $50 to $100 for supplies.
- Labour Costs for Professional Painters:
- Professional painters charge either per square foot or per hour. The average cost per square foot ranges from $2 to $6, depending on the complexity of the job and your location.
- For hourly rates, expect to pay between $20 to $50 per hour.
Tips for Staying Within Budget
Keeping your painting project within budget requires careful planning and smart decisions. Here are some tips to help you save money without compromising quality:
- Do It Yourself: If you have the time and skills, DIY painting can save you a significant amount of money on labor costs.
- Buy in Bulk: Purchasing paint and supplies in bulk can reduce costs, especially if you’re painting multiple rooms.
- Shop Sales and Discounts: Look for seasonal sales, clearance items, and discounts at your local hardware store or online.
- Reuse and Recycle: Reuse existing brushes, rollers, and drop cloths if they’re in good condition. This reduces the need to buy new supplies.
How Seasonal Discounts Can Save You Money
Timing your purchase of paint and supplies can also lead to savings. Many retailers offer discounts during off-peak seasons:
- Winter Sales: Retailers often discount paint and supplies during the winter months when demand is lower.
- Holiday Promotions: Look out for holiday promotions and sales events, such as Black Friday and Boxing Day, for significant discounts.
Interior Painting Cost Breakdown:
| Cost Component | Details | DIY Painting (CAD) | Professional Painting (CAD) |
|---|---|---|---|
| Paint | Price per gallon (Latex: $20-$50, Oil-based: $30-$70) |
$60 – $150 (3 gallons) | $60 – $150 (3 gallons) |
| Primer | Price per gallon | $25 – $50 | $25 – $50 |
| Brushes | High-quality brushes (2-3 needed) | $10 – $30 each (Total: $20 – $90) |
Included in service |
| Rollers | High-quality rollers (2-3 needed) | $10 – $25 each (Total: $20 – $75) |
Included in service |
| Painter’s Tape | Multiple rolls | $5 – $10 each (Total: $15 – $30) |
Included in service |
| Drop Cloths | Plastic or fabric covers | $10 – $30 each (Total: $20 – $60) |
Included in service |
| Sandpaper | Various grits | $5 – $10 per pack | Included in service |
| Cleaning Supplies | Soap, rags, buckets | $10 – $20 | Included in service |
| Ladders/Step Stools | Depending on ceiling height | $50 – $150 (if not already owned) | Included in service |
| Paint Trays/Liners | Disposable or reusable | $5 – $15 each (Total: $10 – $30) |
Included in service |
| Miscellaneous Tools | Putty knife, spackling paste, etc. | $20 – $40 | Included in service |
| Dehumidifier/Humidifier Rental | If necessary for climate control | $30 – $50 per day | Included in service |
| Labor Cost | Hourly or per square foot | N/A | $2 – $6 per sq. ft. (or $20 – $50 per hour) |
| Subtotal (Supplies Only) | $210 – $555 | Included in service | |
| Total Cost (Including Labor) | Typical room (10×12 ft.) | $210 – $555 | $800 – $2,000 (including labor) |
Common Challenges and How to Overcome Them
Dealing with Weather-Related Issues
Even though you’re painting indoors, weather conditions can still affect your project. Here’s how to handle common weather-related challenges:
- High Humidity: Use a dehumidifier to reduce moisture levels and ensure proper drying.
- Low Humidity: Increase humidity with a humidifier or by placing bowls of water in the room.
- Extreme Temperatures: Maintain a stable indoor temperature using space heaters or air conditioners.
Managing Time Constraints and Deadlines
Balancing a painting project with a busy schedule can be challenging. Here’s how to stay on track:
- Plan Ahead: Create a detailed timeline and stick to it. Allocate specific times for preparation, painting, and cleanup.
- Break the Project into Smaller Tasks: Divide the project into manageable sections to make it less overwhelming and easier to complete.
- Set Realistic Deadlines: Allow extra time for unforeseen delays and be flexible with your schedule.
Ensuring a Quality Finish
Achieving a professional-looking finish requires attention to detail and proper techniques. Here are some tips:
- Prep the Surface: Clean, sand, and prime surfaces before painting to ensure the paint adheres well and looks smooth.
- Use High-Quality Paint and Tools: Investing in quality paint and brushes can make a significant difference in the final result.
- Apply Multiple Coats: For the best coverage and finish, apply at least two coats of paint, allowing adequate drying time between each coat.
Transform Your Space with Hemlock Painting
Hey there, homeowner! Ready to give your home a fresh, stunning new look? Hemlock Painting, Vancouver’s favorite painting pros, are here to make your dream a reality. We pride ourselves on delivering top-notch quality, clear communication, and a satisfaction guarantee that leaves you smiling. From cozy interiors to bold exteriors, we’ve got you covered.
Click here to learn more about our interior paitning services.

Conclusion
Recap of Key Points
Painting your interior at the right time can make a significant difference in the quality and longevity of the finish. Understanding the impact of seasonal conditions, optimal temperatures, and humidity levels, and planning your project accordingly, are crucial for success.
Final Recommendations for Timing Your Interior Painting Project
To achieve the best results, aim to paint during the spring or fall when temperatures and humidity levels are ideal. If you choose to paint during summer or winter, take extra precautions to maintain a stable indoor environment.
FAQs
- What temperature is too cold for interior painting?
- Painting in temperatures below 10°C (50°F) can cause the paint to become too thick and hard to apply smoothly.
- How does humidity affect interior painting?
- High humidity can slow down the drying process, while low humidity can cause the paint to dry too quickly and crack.
- Can I paint my interior walls during the winter?
- Yes, but ensure the indoor temperature is stable and use space heaters or humidifiers to maintain optimal conditions.
- What are the signs that it’s too humid to paint?
- If the paint feels tacky and takes longer to dry, or if you notice condensation on the walls, it’s too humid to paint.
- How long should I wait between coats of paint?
- Wait at least 24 hours between coats to ensure proper drying and avoid an uneven finish.