Preparing your home for interior painting is like setting the stage for a blockbuster movie. Get it right, and you’ll have a stunning masterpiece. Get it wrong, and you’ll have a messy, disappointing flop. Proper preparation ensures that your painting project goes smoothly, minimizes mess, and results in a professional-looking finish. This comprehensive checklist will guide you through each step of the process, ensuring that your walls are prepped to perfection and ready for a fresh coat of paint. Whether you’re a DIY enthusiast or a first-time painter, these tips will help you achieve the best results.
Assessing the Room
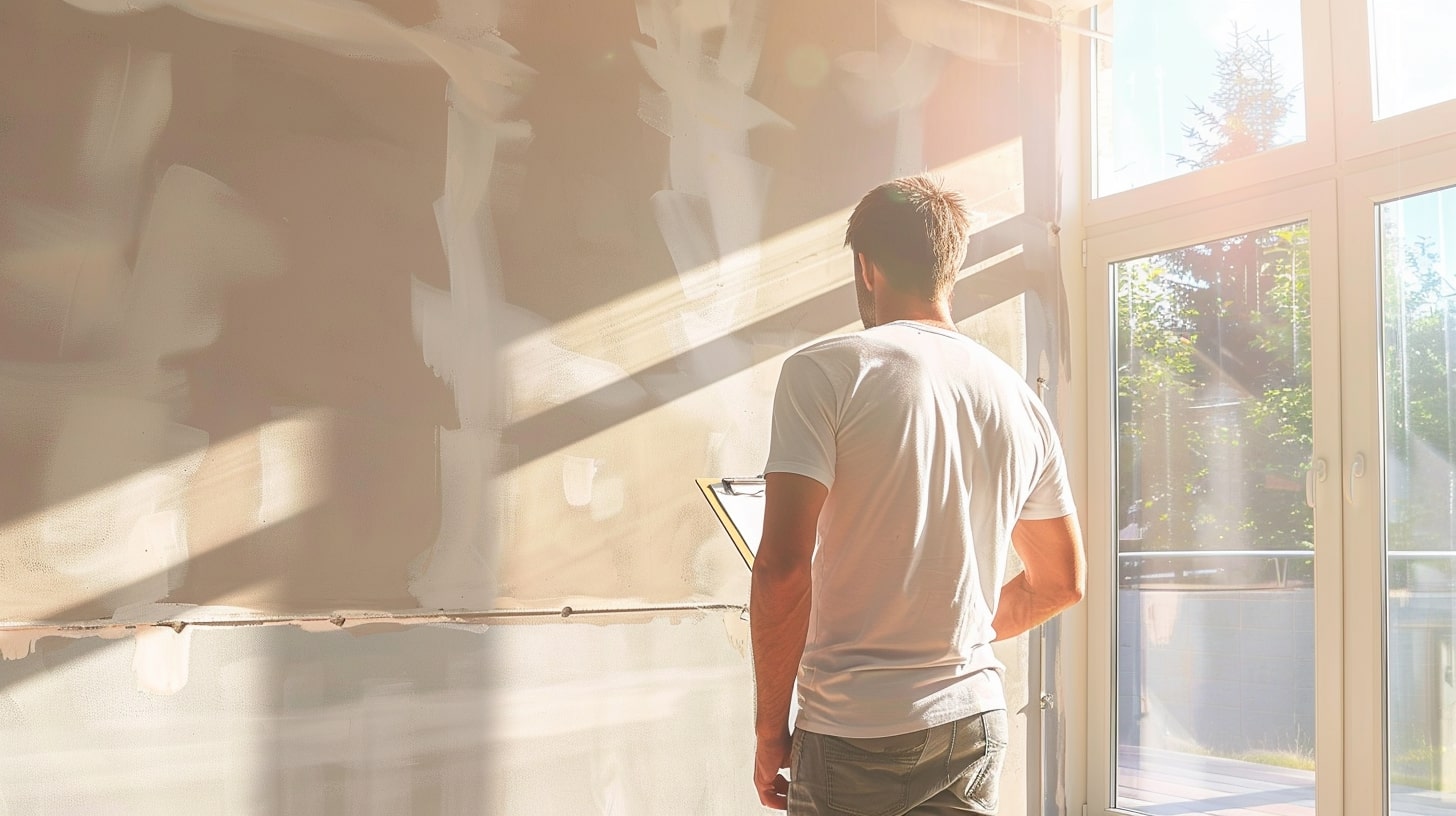
Inspecting Walls and Ceilings for Damage
Before you dive into painting, you need to assess the condition of your walls and ceilings. Look for cracks, holes, and any other imperfections that might affect the paint’s finish. Small cracks and nail holes are common and easy to fix, but larger issues like water damage or structural cracks may require professional attention.
Key Takeaway: Properly addressing wall damage before painting ensures a smooth, even finish and prevents future problems.
How to Identify Cracks, Holes, and Other Imperfections
- Visual Inspection: Start with a thorough visual inspection of all surfaces. Use a flashlight to highlight imperfections.
- Touch Test: Run your hand over the walls to feel for bumps or dents that might not be immediately visible.
- Tapping Test: Lightly tap the walls with a small hammer. A hollow sound can indicate a larger underlying issue.
Evaluating Furniture and Floor Protection Needs
Protecting your furniture and floors is crucial to prevent paint splatters and spills. Here’s how to do it:
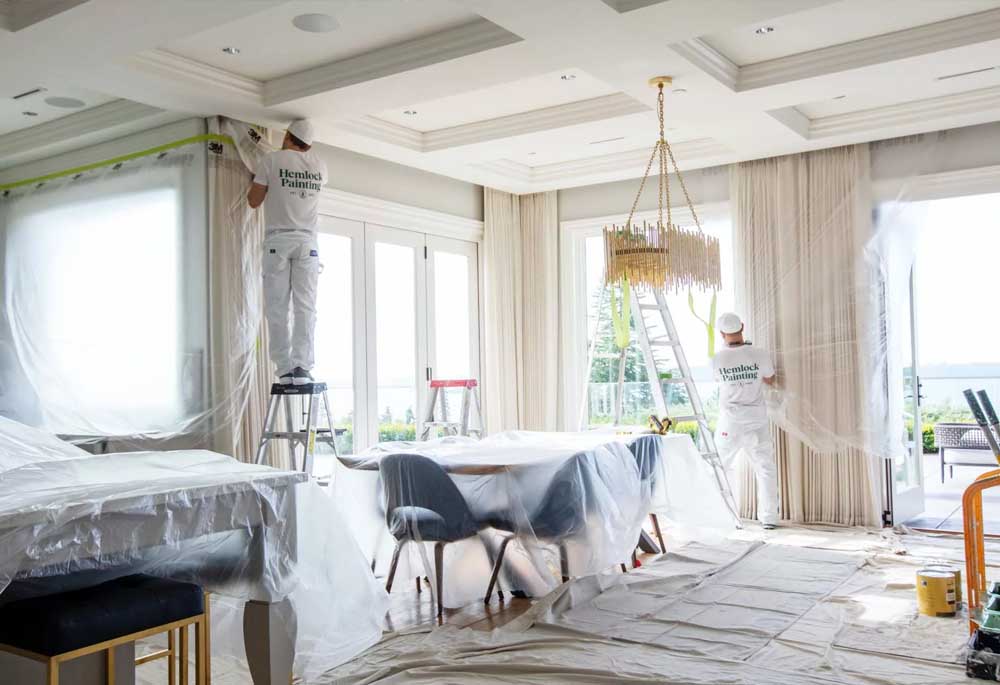
- Move Furniture: If possible, move all furniture out of the room. If space is limited, move it to the center and cover it with plastic sheeting or old bedsheets.
- Cover Floors: Use drop cloths or plastic sheeting to cover the entire floor. Secure them with painter’s tape to prevent them from moving.
- Protect Fixtures: Remove or cover light fixtures, switch plates, and outlet covers.
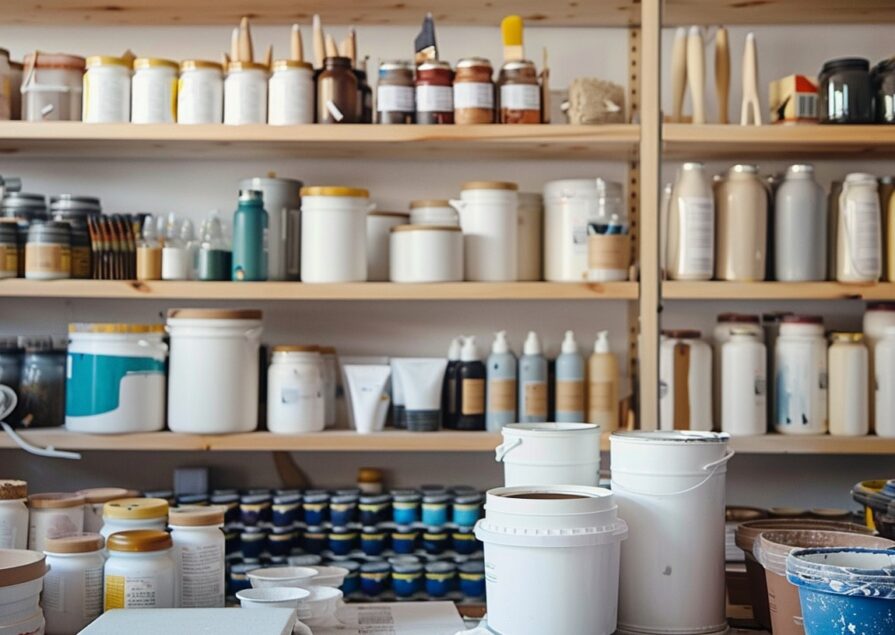
Gathering Necessary Tools and Materials
Essential Tools for Painting Preparation
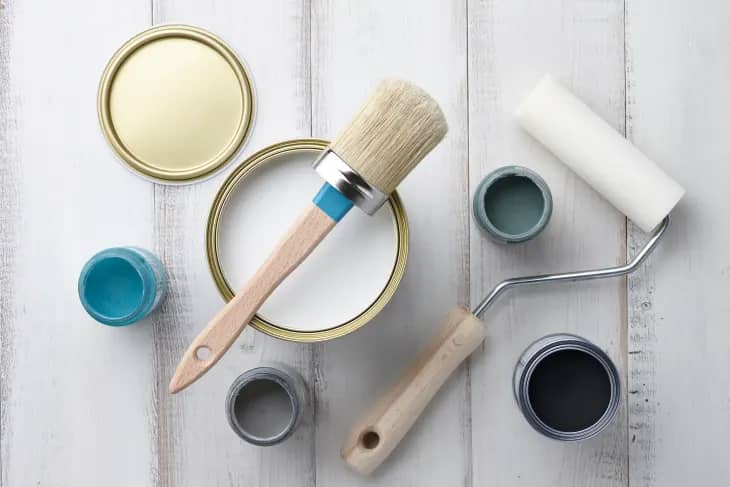
Having the right tools on hand can make all the difference in your painting project. Here’s a list of must-have items:
- Scrapers: For removing old paint and wallpaper.
- Sandpaper: To smooth out surfaces.
- Putty Knives: For applying filler to cracks and holes.
- Paint Brushes and Rollers: Choose high-quality brushes for a smooth application.
Materials Checklist
Make sure you have all the necessary materials before you start:
- Drop Cloths: Protect your floors and furniture.
- Painter’s Tape: For masking off areas you don’t want to paint.
- Primer: Essential for preparing walls, especially if you’re painting over a dark colour.
- Filler: For patching holes and cracks.
Full Painting Preparation Checklist
Assessment and Preparation Phase
Critical
| Material | Purpose | Check |
|---|---|---|
| Flashlight | Highlights imperfections during wall inspection | [ ] |
| Moisture Meter | Checks walls for hidden moisture | [ ] |
| Scrapers | Removes old paint and wallpaper | [ ] |
| Sandpaper | Smooths out surfaces | [ ] |
| Putty Knives | Applies filler to cracks and holes | [ ] |
| Filler | Patches holes and cracks | [ ] |
| Cleaning Cloths | Wipes down surfaces before painting | [ ] |
| Degreaser | Removes grease and grime from walls | [ ] |
| Sponge | For washing walls and removing soap residue | [ ] |
Optional
| Material | Purpose | Check |
|---|---|---|
| Buckets | Holds water for cleaning and rinsing | [ ] |
| TSP (Trisodium Phosphate) | Heavy-duty cleaner for tough stains and greasy walls | [ ] |
Protection Phase
Critical
| Material | Purpose | Check |
|---|---|---|
| Drop Cloths | Protect floors and furniture from paint spills | [ ] |
| Painter’s Tape | Mask off areas to prevent accidental painting | [ ] |
| Dust Sheets | Additional protection for large furniture and floors | [ ] |
| Plastic Sheeting | Covers furniture and fixtures | [ ] |
| Screwdrivers | Removes switch plates and outlet covers | [ ] |
Optional
| Material | Purpose | Check |
|---|---|---|
| Trash Bags | Disposes of used materials and waste | [ ] |
| Utility Knife | Cuts painter’s tape and other materials | [ ] |
Priming Phase
Critical
| Material | Purpose | Check |
|---|---|---|
| Primer | Prepares and seals surfaces for painting | [ ] |
| Stirring Sticks | Mixes paint thoroughly | [ ] |
| Paint Can Opener | Opens paint cans without damaging the lid | [ ] |
| Paint Brushes | For detailed painting and cutting in edges | [ ] |
| Paint Rollers | For covering large areas quickly and evenly | [ ] |
| Paint Trays | Holds paint for easy roller access | [ ] |
Optional
| Material | Purpose | Check |
|---|---|---|
| Ladder or Step Stool | Provides access to higher areas | [ ] |
Painting Phase
Critical
| Material | Purpose | Check |
|---|---|---|
| Painter’s Tape | Mask off areas to prevent accidental painting | [ ] |
| Paint Brushes | For detailed painting and cutting in edges | [ ] |
| Paint Rollers | For covering large areas quickly and evenly | [ ] |
| Paint Trays | Holds paint for easy roller access | [ ] |
| Stirring Sticks | Mixes paint thoroughly | [ ] |
Optional
| Material | Purpose | Check |
|---|---|---|
| Tool Belt or Apron | Keeps essential items within easy reach | [ ] |
Safety and Clean-Up Phase
Critical
| Material | Purpose | Check |
|---|---|---|
| Protective Gear | Safety goggles, masks, and gloves to protect yourself | [ ] |
| Vacuum Cleaner | Removes dust after sanding | [ ] |
| Cleaning Cloths | Wipes down surfaces after painting | [ ] |
| Respirator Mask | Protects from inhaling fumes | [ ] |
Optional
| Material | Purpose | Check |
|---|---|---|
| Fans | Helps ventilate the room during painting | [ ] |
| Caulk and Caulk Gun | Seals gaps and cracks in trim and moldings | [ ] |
Clearing and Protecting the Space
Removing or Covering Furniture
Properly removing or covering furniture is essential to protect it from paint splatters and to give you more space to work. Here’s how to do it effectively:
- Move It Out: Ideally, move all furniture out of the room. This not only protects your furniture but also gives you more space to work.
- Cover What Remains: If moving isn’t an option, move the furniture to the center of the room and cover it with plastic sheeting or old sheets. Ensure the covering reaches the floor to fully protect your furniture.
Protecting Floors and Fixtures
Covering your floors and fixtures prevents accidental spills and splatters. Here are some tips:
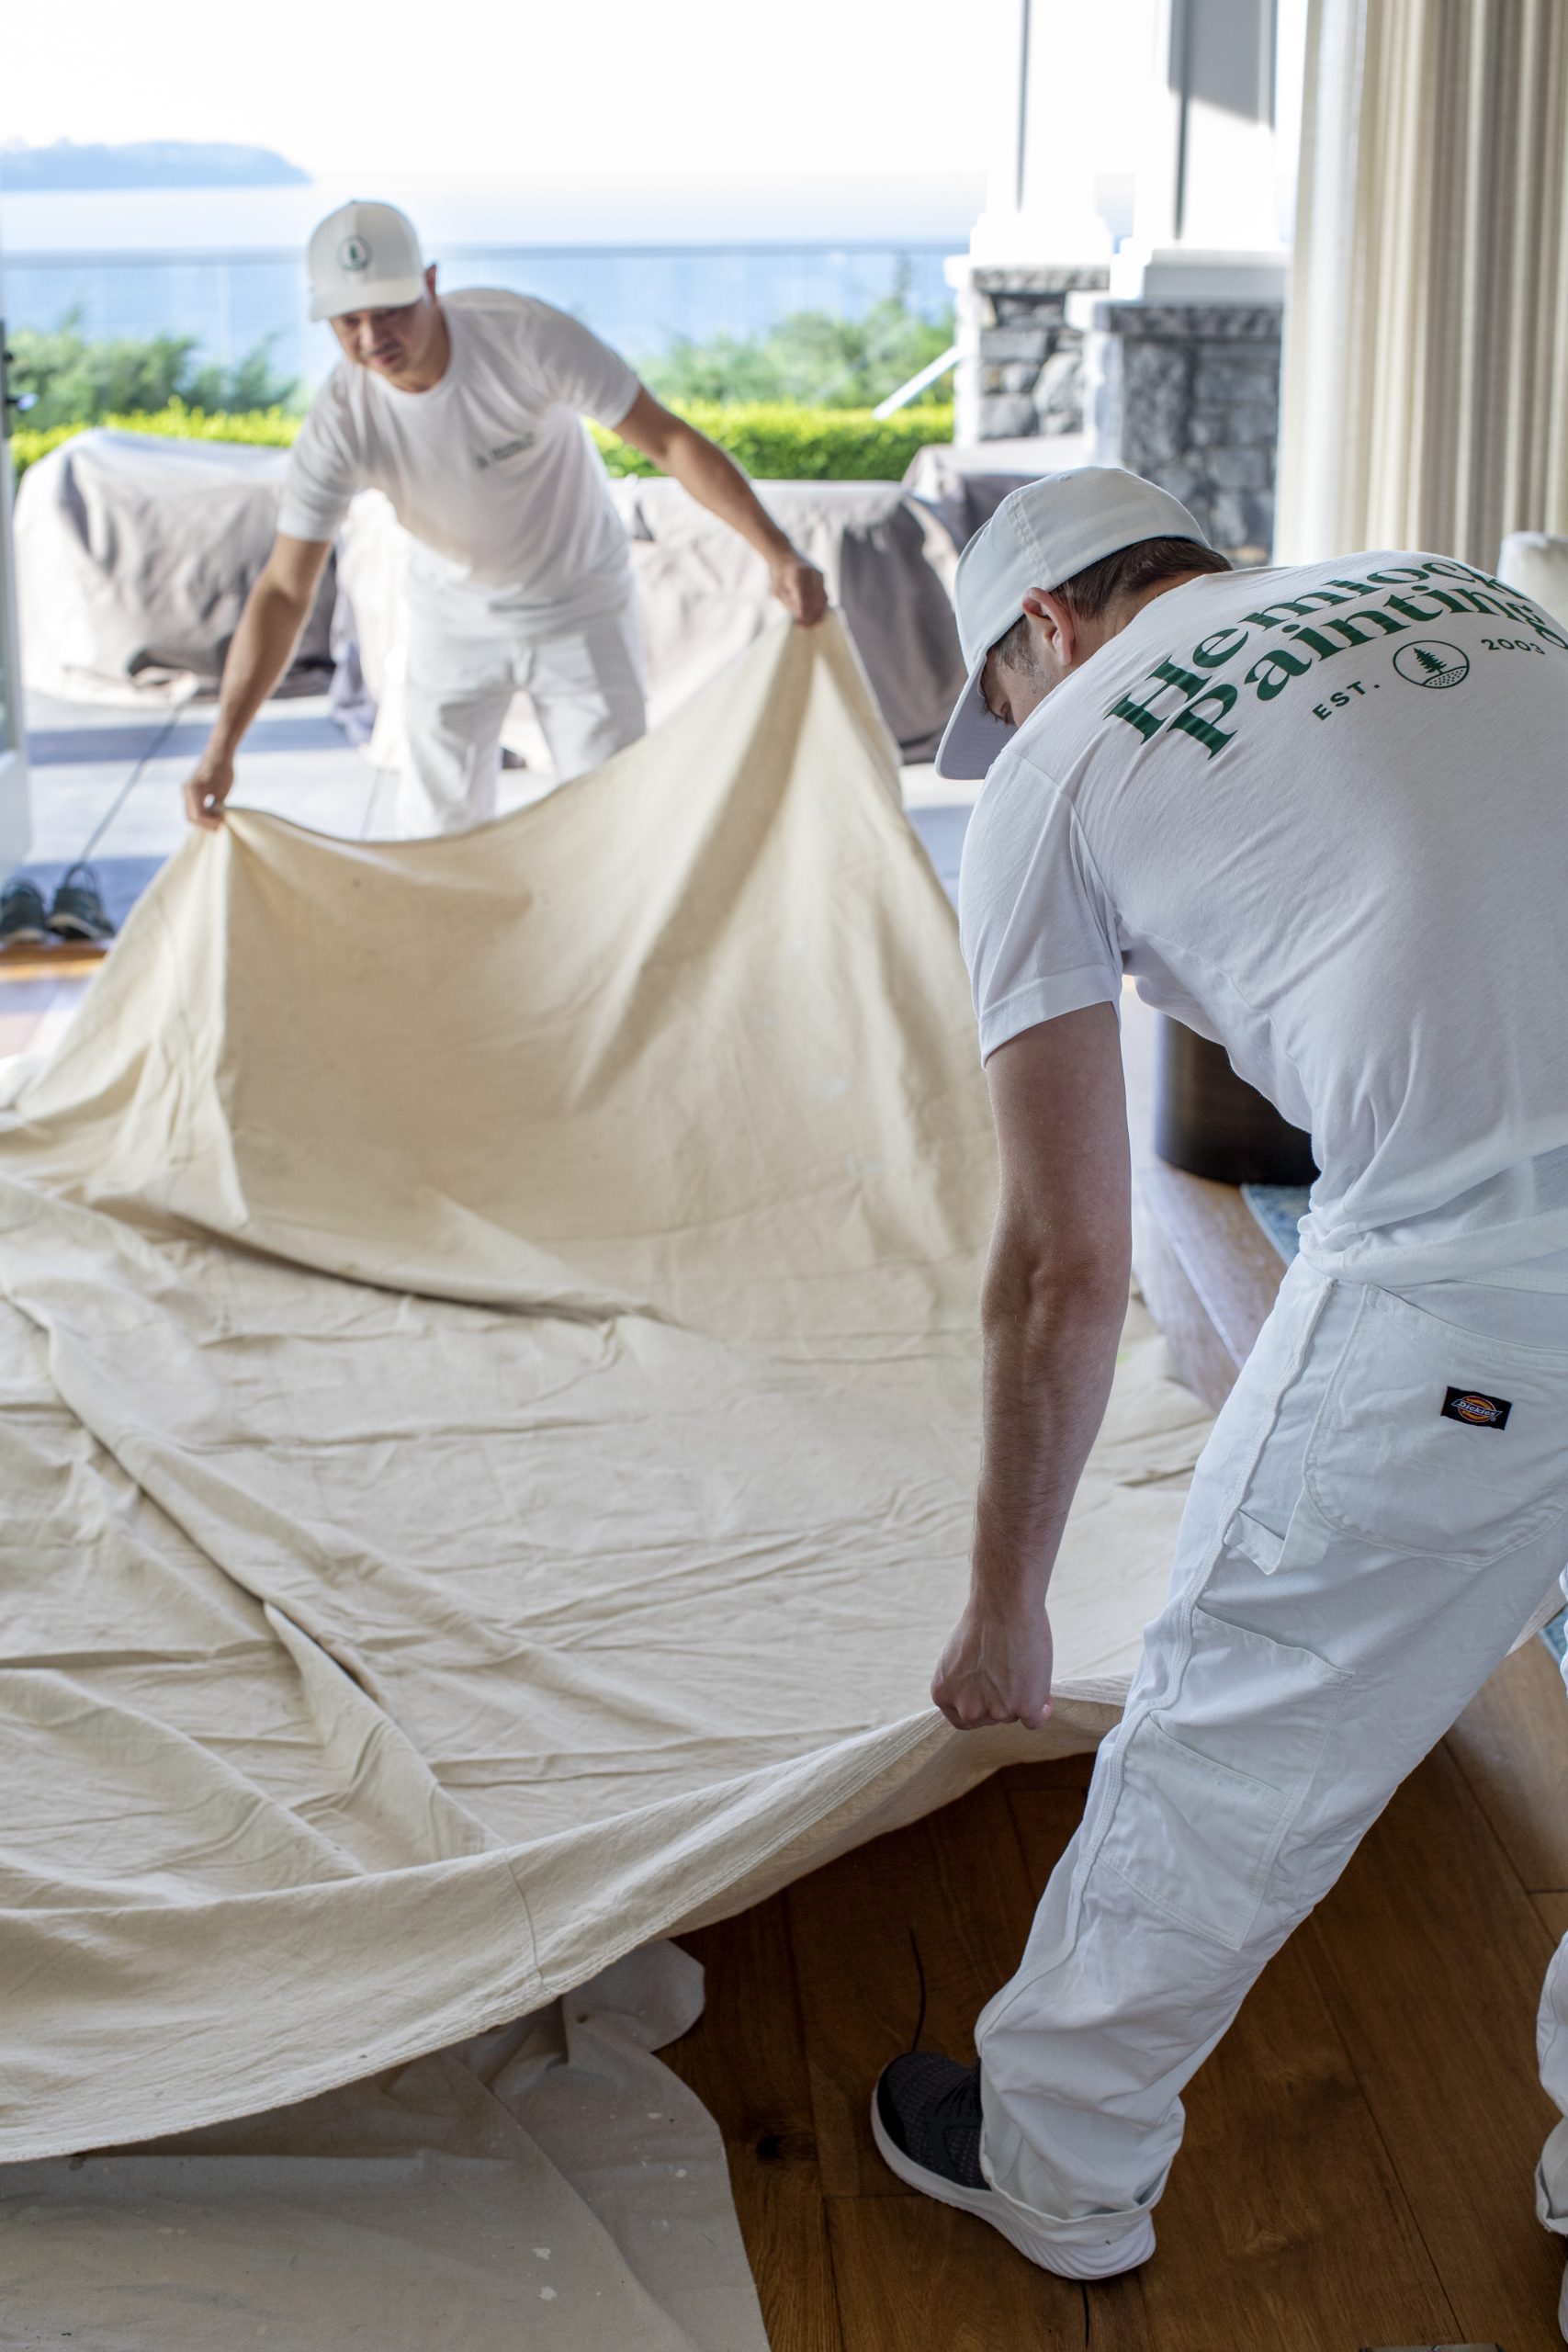
- Drop Cloths for Floors: Use canvas or plastic drop cloths to cover the floor. Canvas is more durable and less slippery.
- Masking Fixtures: Remove light fixtures if possible, or cover them with plastic bags secured with painter’s tape. Remove outlet covers and switch plates, and cover the exposed areas with painter’s tape.
Key Takeaway: Spending time on proper protection saves time and effort in cleaning up paint spills and splatters later.
Preparing the Walls
Cleaning the Walls
Clean walls are essential for good paint adhesion. Dust, dirt, and grease can prevent paint from sticking properly. Here’s how to clean your walls:
- Dusting: Use a duster or vacuum with a brush attachment to remove dust.
- Washing: Use a mixture of mild detergent and water. For greasy areas, especially in kitchens, use a degreaser.
- Rinsing: Rinse the walls with clean water to remove any soap residue and let them dry completely.
Repairing Wall Damage
Repairing any damage to your walls ensures a smooth, even finish. Follow these steps:
- Filling Holes and Cracks: Use a putty knife to apply filler to holes and cracks. Overfill slightly, as filler shrinks when it dries.
- Sanding: Once the filler is dry, sand the repaired areas smooth with fine-grit sandpaper.
- Priming Repairs: Apply a coat of primer to the repaired areas to ensure even paint coverage.
Sanding the Surfaces
Sanding the walls helps to create a smooth surface for painting. It’s especially important if the walls have a glossy finish. Here’s how to do it:
- Choosing the Right Sandpaper: Use fine-grit sandpaper (220-grit) for a smooth finish.
- Sanding Technique: Sand in a circular motion, applying even pressure. Be sure to sand any patched areas smooth.
- Cleaning Up: Vacuum the dust and wipe the walls with a damp cloth to remove any remaining dust particles.
Fun Fact: Sanding not only smooths the surface but also helps the paint to adhere better by creating a slightly rough texture.
Priming the Walls
Choosing the Right Primer
Selecting the right primer is crucial for achieving a professional-looking finish. Primers create a smooth base for your paint, help cover dark colours, and seal porous surfaces. Here are the main types of primers and their uses:
- Latex Primer: Ideal for drywall and softwood surfaces. It’s easy to clean up with soap and water and dries quickly.
- Oil-Based Primer: Best for stained or high-traffic areas. It offers excellent adhesion and stain-blocking properties but requires mineral spirits for cleanup.
- Shellac Primer: Great for blocking odours and stains, especially from smoke and water damage. It dries quickly but has a strong odour during application.
When choosing a primer, consider the surface you’re painting and any specific challenges, such as stains or high humidity. For most interior walls, a high-quality latex primer will suffice.
Key Takeaway: Using the right primer can enhance paint adhesion and durability, ensuring your paint job looks great for years to come.
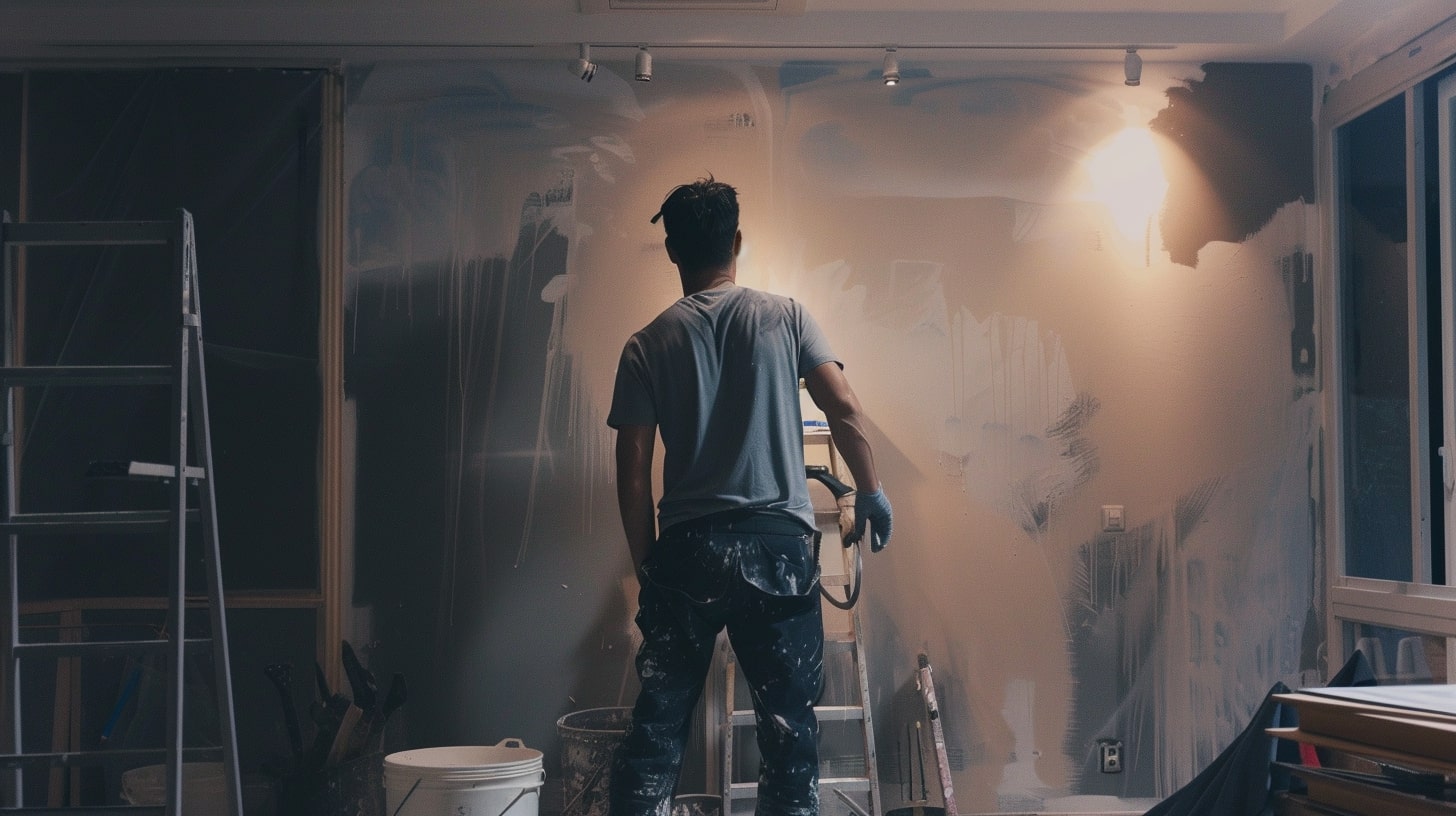
Applying Primer
Properly applying primer sets the stage for your paint to perform its best. Follow these steps for a smooth, even application:
- Mix the Primer: Stir the primer thoroughly before using to ensure an even consistency.
- Cut In Edges: Use a brush to apply primer to the edges of walls, around trim, and in corners. This is known as “cutting in.”
- Roll the Walls: Use a roller for the large, flat areas. Apply the primer in a “W” pattern and then fill in the gaps for even coverage.
- Allow to Dry: Let the primer dry completely, following the manufacturer’s instructions. This usually takes a few hours, but can vary based on the type of primer and environmental conditions.
Setting Up the Painting Area
Organizing Tools and Materials
An organized workspace makes the painting process more efficient and enjoyable. Here’s how to set up your painting area:
- Centralize Supplies: Keep all your tools and materials in a central location, such as a small table or workbench. This includes paint, brushes, rollers, painter’s tape, and drop cloths.
- Tool Belt or Apron: Wear a tool belt or apron with pockets to keep essential items like brushes, tape, and a utility knife within easy reach.
- Dispose of Waste Properly: Have a trash bag or bin nearby for used tape, paint can lids, and other waste.
Ensuring Proper Ventilation
Proper ventilation is important for safety and ensuring that paint dries properly. Here’s how to achieve good ventilation while painting:
- Open Windows and Doors: Create cross-ventilation by opening windows and doors on opposite sides of the room.
- Use Fans: Place fans in the windows to help circulate fresh air and expel fumes. Position one fan to blow air out and another to draw fresh air in.
- Wear a Mask: If ventilation is limited, wear a respirator mask designed for paint fumes to protect yourself from inhaling harmful vapours.
Taping and Masking
Using Painter’s Tape Effectively
Painter’s tape is a must-have tool for achieving clean, professional-looking edges. Here’s how to use it effectively:
- Clean the Surface: Ensure the surface is clean and dry before applying tape to ensure good adhesion.
- Apply Tape Smoothly: Press the tape down firmly to prevent paint from seeping underneath. Use a putty knife to press the tape edges securely.
- Remove Tape Carefully: Remove the tape while the paint is still slightly wet to avoid peeling off dried paint. Pull the tape back on itself at a 45-degree angle.
Key Takeaway: Properly applied painter’s tape helps achieve crisp, clean lines and reduces the need for touch-ups.
Masking Off Trim and Fixtures
Masking off trim and fixtures protects them from accidental paint splatters and ensures a clean finish. Here’s how to do it:
- Trim and Baseboards: Apply painter’s tape along the edges of trim and baseboards. Press down firmly to ensure a tight seal.
- Light Fixtures and Outlets: Remove light switch and outlet covers. Use painter’s tape to cover the exposed areas.
- Windows and Doors: Apply painter’s tape along the edges of windows and door frames to protect them from paint.
Final Preparations Before Painting
Double-Checking the Preparation
Before you start painting, it’s crucial to ensure that everything is properly prepared. Here’s a checklist to help you double-check your preparation:
- Inspect Surfaces: Ensure all repairs are complete, and the primer is dry.
- Check Tape and Coverings: Make sure all tape and coverings are securely in place and nothing is left exposed.
- Organize Tools: Confirm that all your tools and materials are within reach and properly organized.
Mixing and Preparing Paint
Properly mixing and preparing your paint ensures a consistent colour and smooth application. Here’s how to do it:
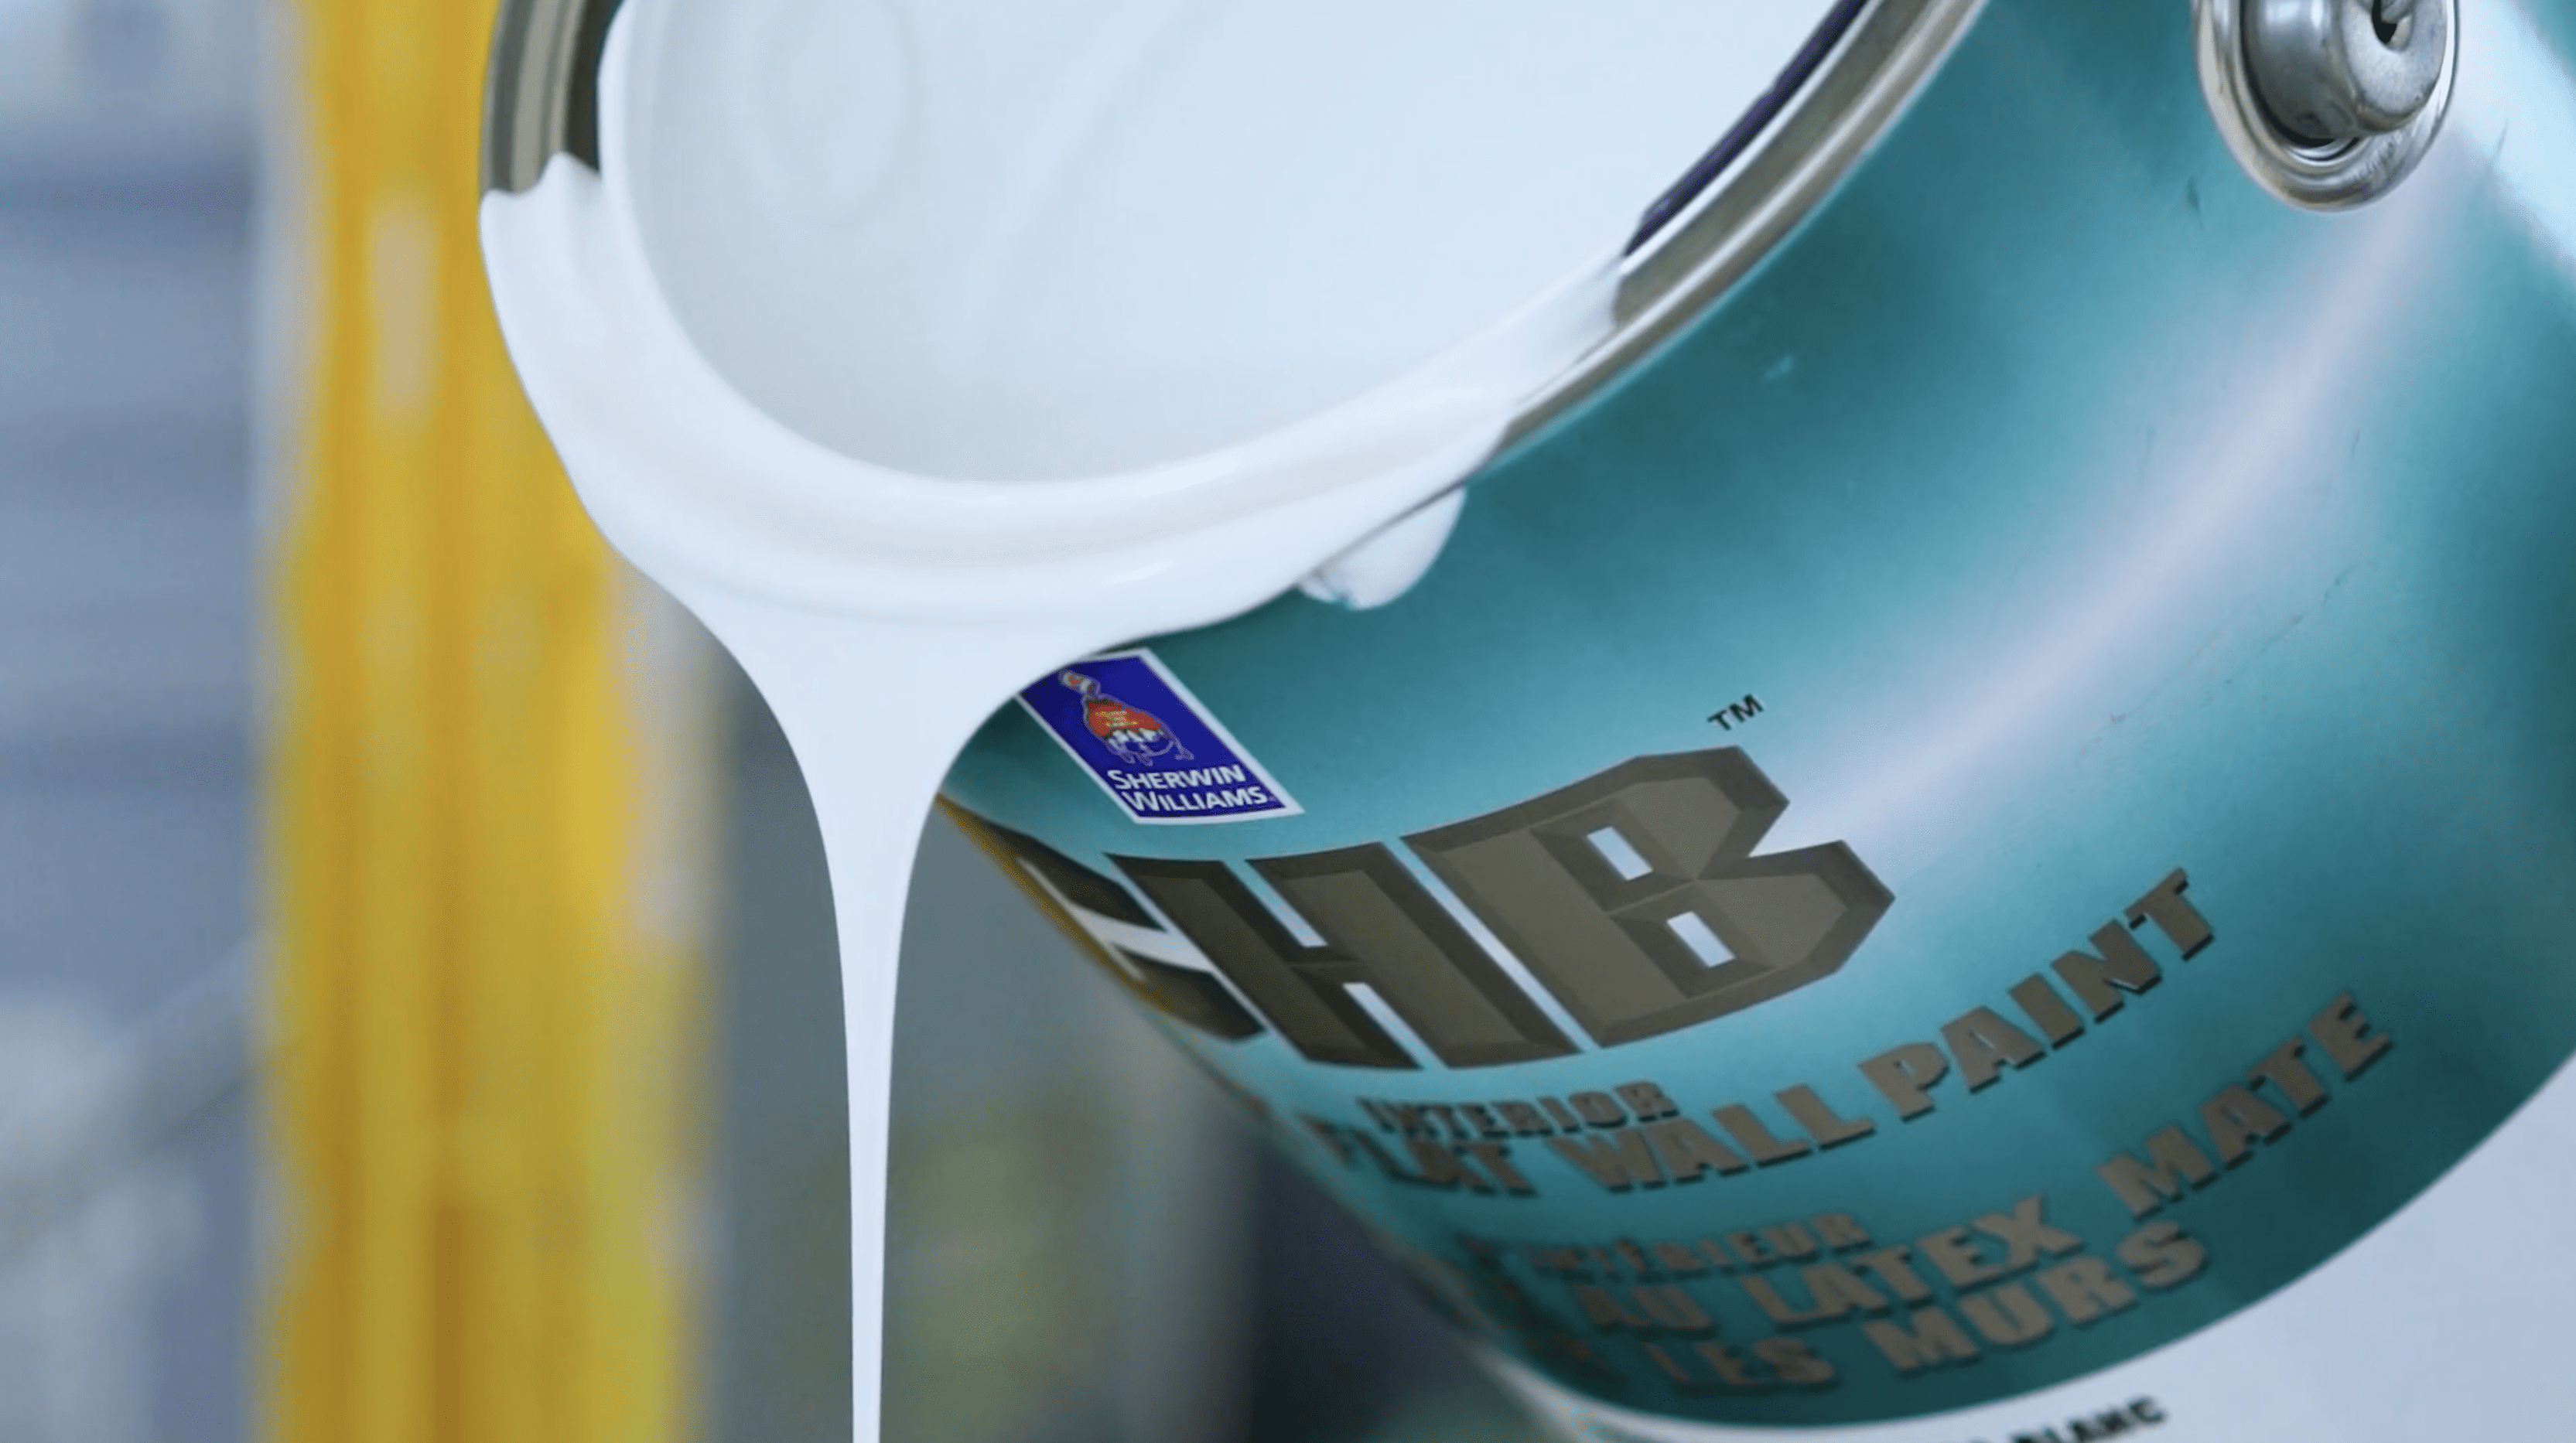
- Stir Thoroughly: Use a paint stirrer or mixing tool to stir the paint thoroughly. This ensures the colour and consistency are even throughout.
- Pour Into a Tray: Pour a manageable amount of paint into a paint tray. This makes it easier to load your roller evenly.
- Load Your Roller: Roll the roller into the paint, then roll it on the tray’s ridged area to remove excess paint. This helps to avoid drips and ensures an even coat.
Conclusion
Preparing for interior painting might seem like a lot of work, but the effort pays off in the end. By following this checklist, you can ensure a smooth, professional-looking finish that will last for years. From assessing the room and gathering the necessary tools to protecting your space and preparing the walls, every step is crucial for achieving the best results. Remember, good preparation is the key to a successful painting project. Happy painting!
FAQs
1. How long should I wait after priming before painting?
You should generally wait for the primer to dry completely before applying paint. The drying time can vary based on the type of primer used and the environmental conditions. Latex primers usually dry to the touch in about 30 minutes to 1 hour, but it’s best to wait at least 3 hours before painting. Oil-based primers may take longer, often requiring 24 hours to dry completely. Always refer to the primer manufacturer’s instructions for specific drying times.
2. Can I paint over dirty walls if I’m in a hurry?
Painting over dirty walls is not recommended. Dirt, dust, and grease can prevent the paint from adhering properly, leading to a patchy and uneven finish. If you’re in a hurry, at least give the walls a quick clean with a damp cloth and mild detergent to remove the most obvious dirt and grime. For the best results, thoroughly clean the walls, let them dry, and then proceed with painting.
3. What is the best type of primer for a bathroom?
For a bathroom, you need a primer that can withstand high humidity and prevent mould and mildew growth. A moisture-resistant or mildew-resistant primer is ideal. Oil-based primers are excellent for high-moisture areas because of their superior adhesion and sealing properties. Alternatively, shellac-based primers also work well in bathrooms due to their excellent stain-blocking and sealing capabilities. Always ensure the primer is labelled for use in high-humidity areas.
4. How do I prevent painter’s tape from peeling off the paint?
To prevent painter’s tape from peeling off the paint, follow these tips:
- Apply Tape to Clean, Dry Surfaces: Ensure the surface is clean and dry before applying the tape.
- Press Firmly: Use a putty knife or similar tool to press down the tape’s edges firmly, ensuring a good seal.
- Remove Tape While Paint Is Wet: For the best results, remove the tape while the paint is still slightly wet. Pull the tape back on itself at a 45-degree angle to avoid lifting the paint.
- Use Quality Tape: Invest in high-quality painter’s tape designed for clean removal.
5. Is it necessary to sand the walls if they are already smooth?
Even if your walls appear smooth, it’s still a good idea to lightly sand them before painting. Sanding helps to remove any minor imperfections, glossy finishes, and debris, creating a better surface for paint adhesion. Use fine-grit sandpaper (220-grit) and lightly sand the walls in a circular motion. After sanding, wipe the walls with a damp cloth to remove any dust before applying primer or paint.