When it comes to giving your home a fresh, new look, nothing beats a professional interior paint job. Professional interior painting is more than just slapping a coat of paint on the walls; it’s an art that involves meticulous preparation, the right tools, and skilled techniques. The result? A flawless finish that not only looks stunning but also lasts longer.
Many homeowners think they can handle painting themselves, but hiring professionals can save you time, effort, and even money in the long run. “The bitterness of poor quality remains long after the sweetness of low price is forgotten.” This old saying rings true, especially in the world of painting. Professionals know how to prepare surfaces, choose the right type of paint, and apply it evenly to achieve that perfect look.
In this guide, we’ll walk you through the entire professional interior painting process. From preparing your space to the final touches, we’ll cover everything you need to know to understand and appreciate the work that goes into a professional paint job.
Preparing for Interior Painting

Assessing the Space
Before you can start painting, it’s crucial to assess the space you’re working with. This initial step involves measuring the area, identifying the surface types, and checking the condition of the walls. Why is this important? Because knowing the specifics helps you determine how much paint you’ll need and what kind of preparation is required.
Measuring the Area:
- Start by measuring the height and width of each wall. Multiply these numbers to get the total square footage.
- Don’t forget to measure doors, windows, and other areas that won’t be painted, and subtract these from the total.
- For accurate results, use a laser distance measurer.
Identifying Surface Types and Conditions:
- Walls can be made of drywall, plaster, or even concrete. Each type requires different preparation methods.
- Inspect the condition of the walls. Look for cracks, holes, or peeling paint. These issues need to be addressed before painting.
Choosing the Right Paint

Choosing the right paint is a critical part of the process. With so many options available, it can be overwhelming. But don’t worry, we’ve got you covered.
Types of Paint Finishes:
- Flat: Best for ceilings and low-traffic areas. It hides imperfections but isn’t very durable.
- Eggshell: Slightly more durable than flat and has a soft sheen. Ideal for living rooms and bedrooms.
- Satin: Offers a pearl-like finish and is great for high-traffic areas like hallways.
- Semi-gloss: Durable and easy to clean, perfect for kitchens and bathrooms.
- Gloss: The most durable and shiny. Best for trim and doors.
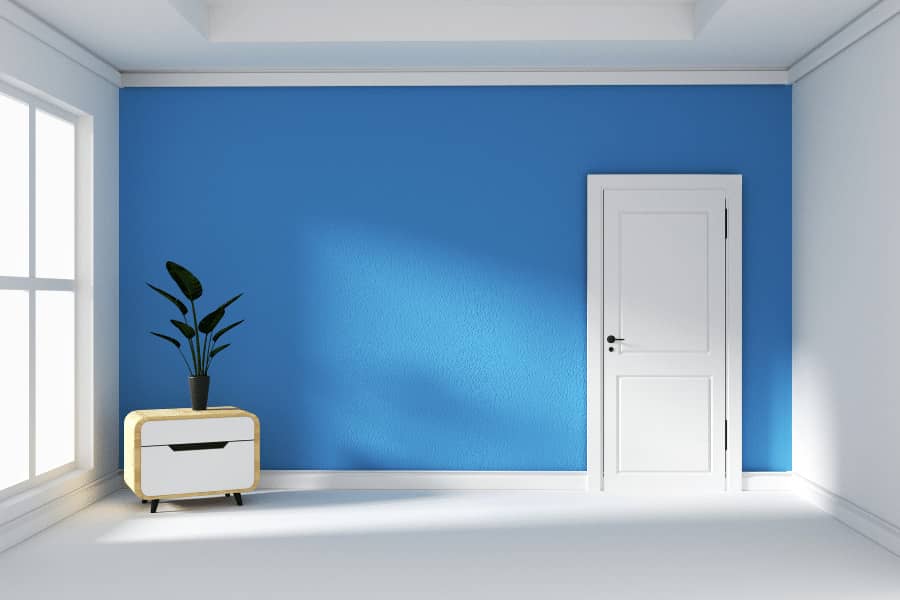
Selecting Colors:
- Colour choice is personal, but consider the room’s purpose and lighting. Light colours make a space feel larger, while dark colours add coziness.
- Use colour swatches and samples to test on your walls before making a decision.
Fun Fact: The colour green is known to enhance creativity and calmness.
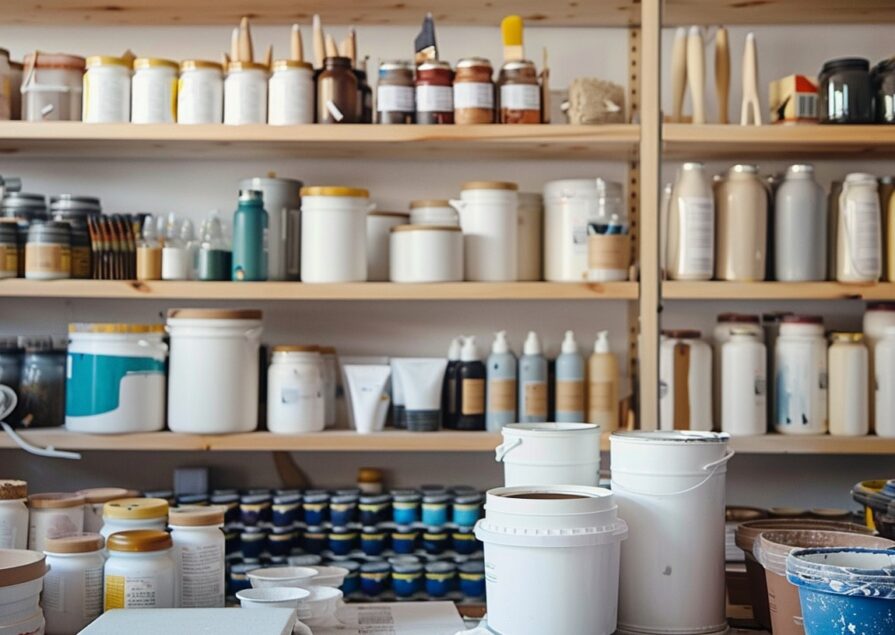
Gathering Necessary Tools and Materials
Having the right tools and materials can make a world of difference in the painting process. Here’s what you’ll need:
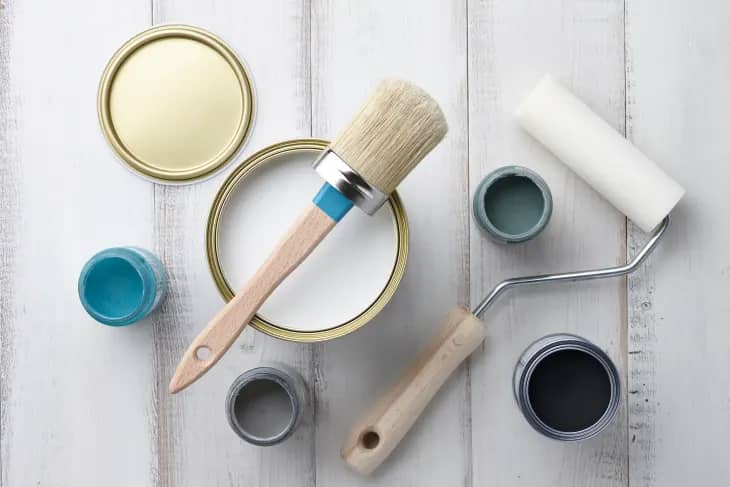
Essential Painting Tools:
- Paint rollers and brushes
- Paint trays and liners
- Drop cloths and painter’s tape
- Extension poles for hard-to-reach areas
- A ladder or step stool
Safety Equipment:
- Dust masks or respirators
- Safety goggles
- Gloves
Key Takeaway: Safety first! Always wear protective gear to avoid accidents and health issues.
By properly preparing your space, choosing the right paint, and gathering the necessary tools, you’re setting yourself up for a successful paint job. Next, we’ll dive into the pre-painting preparation steps that professionals follow to ensure a flawless finish.
Pre-Painting Preparation
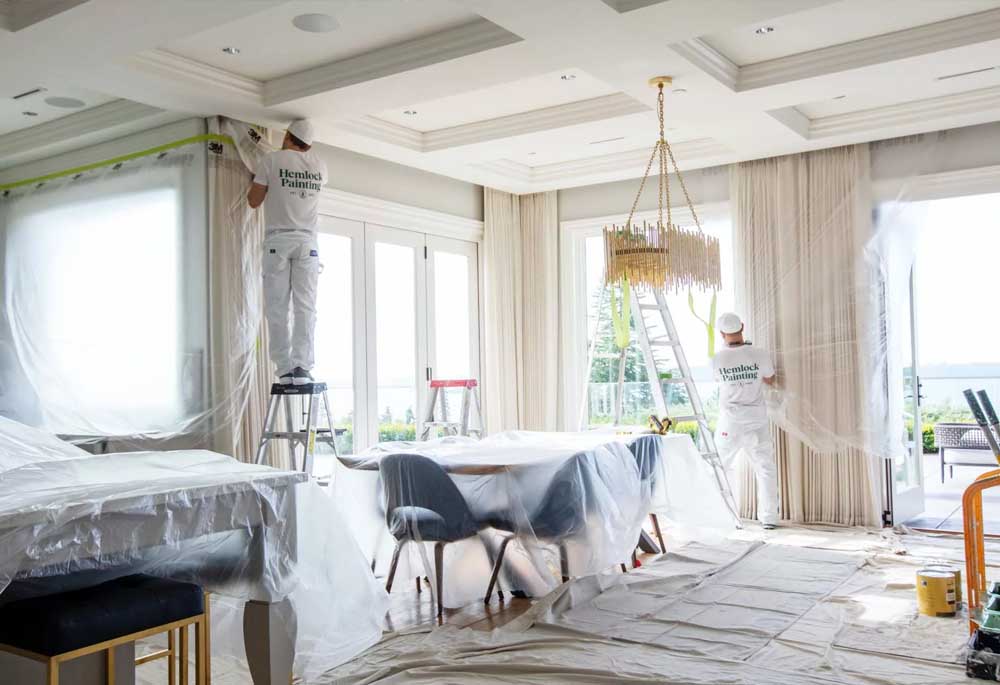
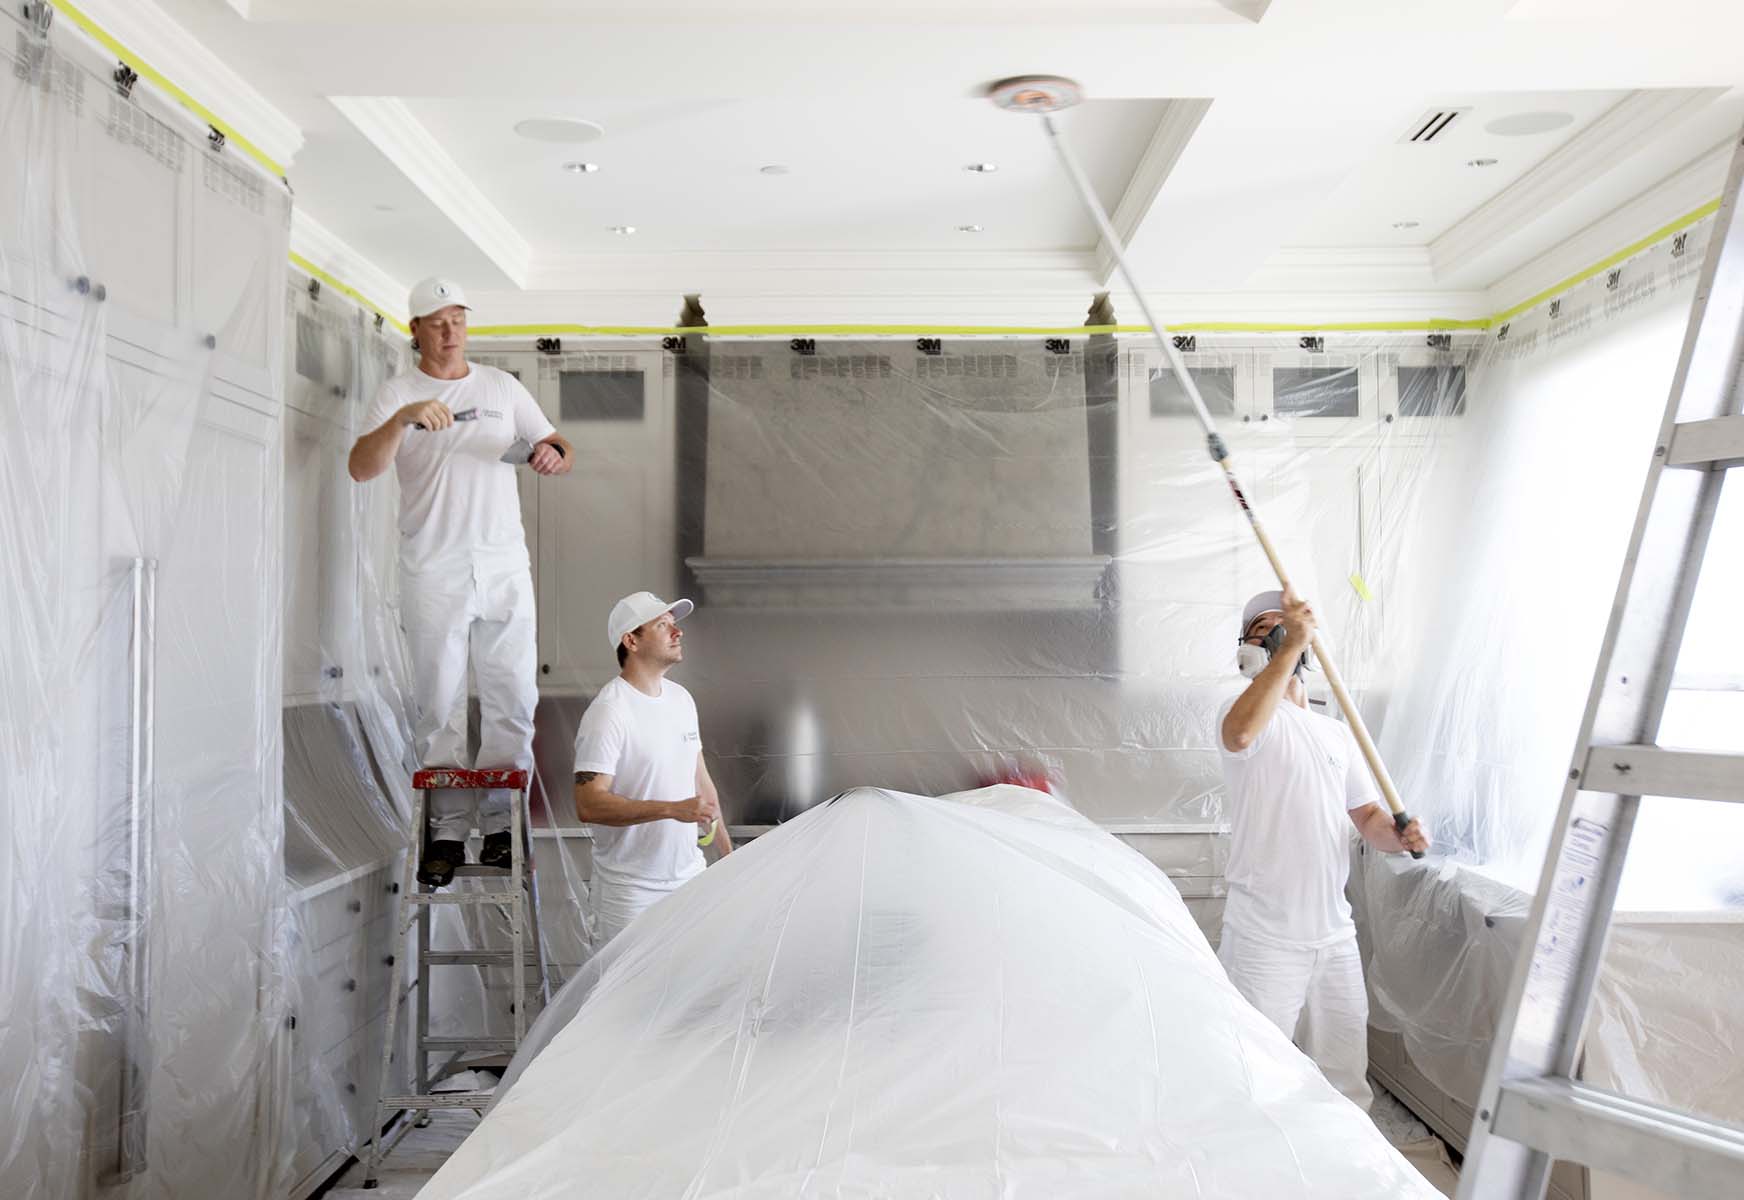
Clearing and Protecting the Space
Before the first drop of paint hits the wall, it’s essential to prepare your space. This step is all about creating a safe, clean environment where you can work efficiently and avoid accidental damage to your belongings.
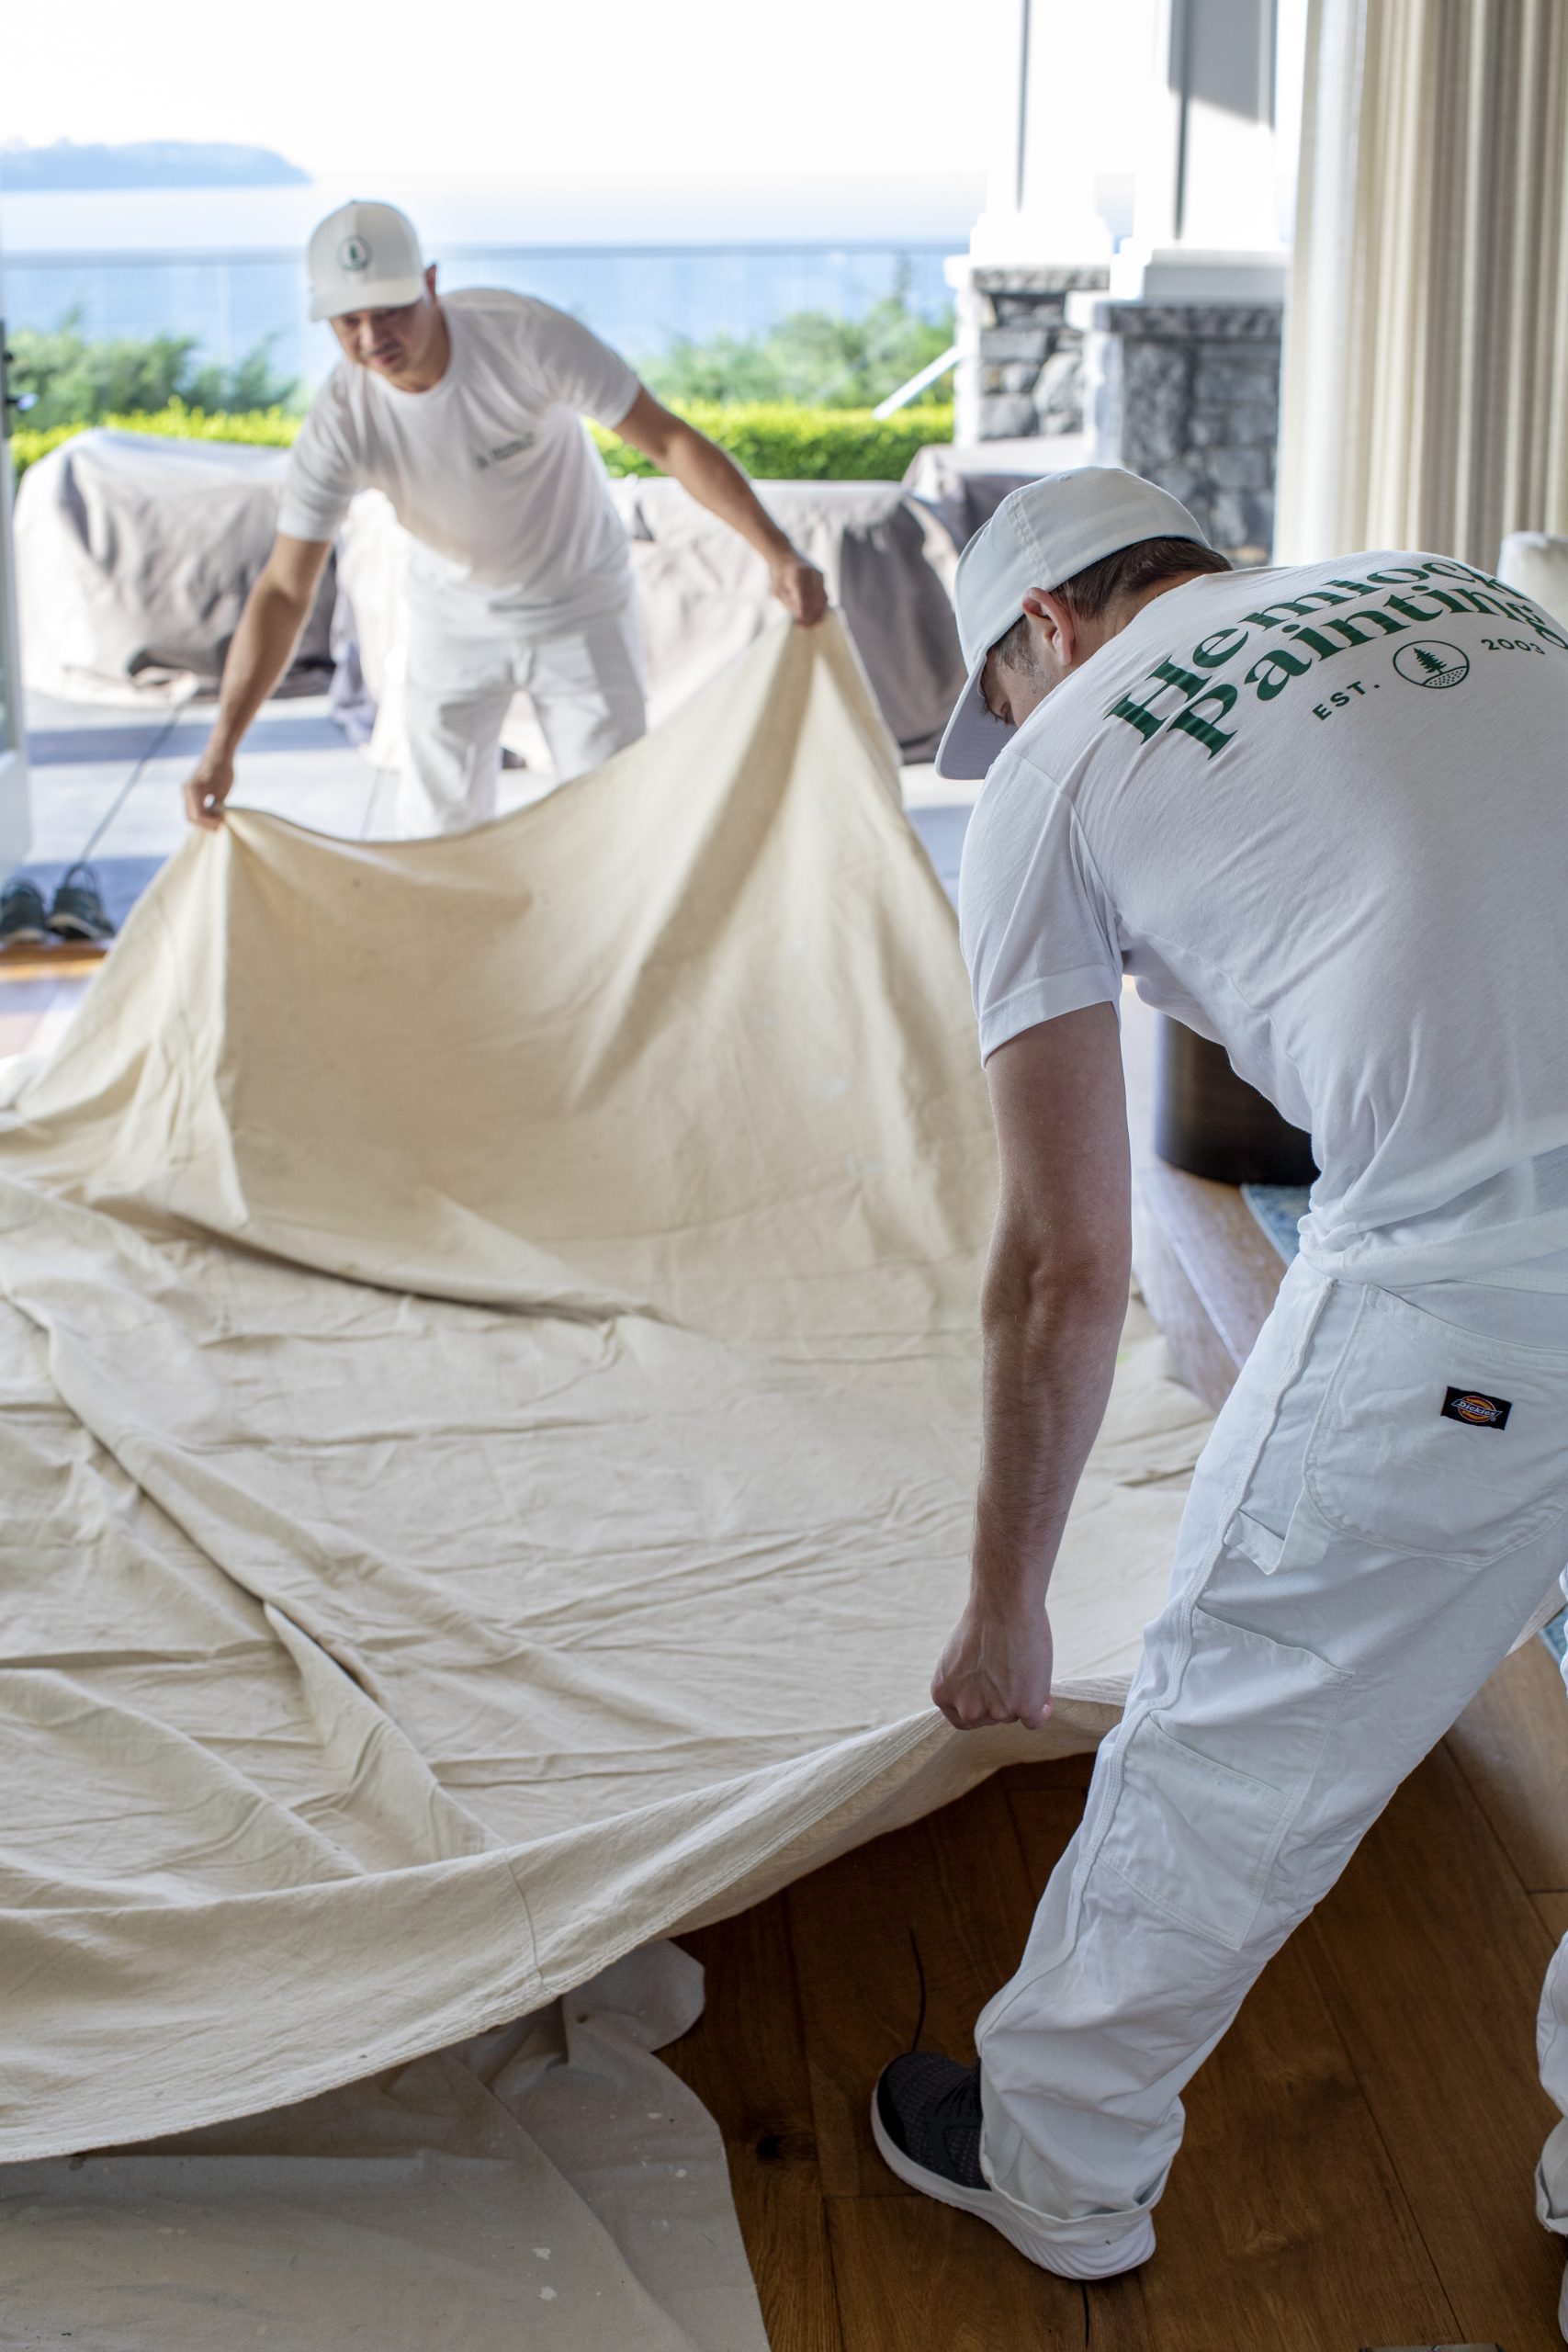
Moving Furniture and Covering Floors:
- Start by moving all furniture out of the room or to the center, covered with plastic sheeting or drop cloths. This prevents any paint splatters or drips from ruining your furniture.
- Cover the floors with drop cloths or old sheets to protect them from paint spills. Secure the edges with painter’s tape to keep them in place.
Taping and Masking:
- Use painter’s tape to mask off areas you don’t want to paint, such as trim, windows, and door frames. Press the tape down firmly to prevent paint from seeping underneath.
- For intricate areas like corners and edges, consider using an edging tool for a clean finish.
Surface Preparation
Surface preparation is crucial for achieving a smooth, long-lasting paint job. Skipping this step can result in poor adhesion and an uneven finish.
Cleaning Walls and Surfaces:
- Dirt, dust, and grease can prevent paint from adhering properly. Clean the walls with a mixture of water and mild detergent. For stubborn stains, use a stronger cleaner like trisodium phosphate (TSP).
- Rinse the walls with clean water and let them dry completely before proceeding.
Repairing Damages:
- Inspect the walls for any cracks, holes, or peeling paint. Use spackling paste or a similar filler to repair small holes and cracks. For larger repairs, consider using a patch kit.
- Once the repairs are dry, sand them smooth with fine-grit sandpaper.
Sanding for Smoothness:
- Sanding is essential for creating a smooth surface for the paint to adhere to. Use a sanding pole or sanding sponge to lightly sand the entire wall, focusing on repaired areas.
- Wipe down the walls with a damp cloth to remove any sanding dust.
By taking the time to clear and protect your space and properly prepare the surfaces, you’ll ensure a smoother, more professional-looking paint job. The next step is all about the actual painting techniques, starting with priming the walls.
Painting Techniques
Priming the Walls
Priming is a crucial step that many DIY painters overlook, but professionals know its importance. Primer creates a uniform surface, helps the paint adhere better, and can even block stains and odours.
Why Priming is Important:
- Primer seals the surface and provides a base for the paint to stick to, which is especially important on new drywall or repaired areas.
- It helps to hide any imperfections and ensures that the paint colour is true to the sample.
Applying Primer Correctly:
- Choose the right primer for your surface. There are specific primers for drywall, wood, and even metal.
- Use a high-quality roller for large areas and a brush for edges and corners. Apply the primer in thin, even coats.
- Let the primer dry completely before applying the paint. This usually takes about 24 hours.
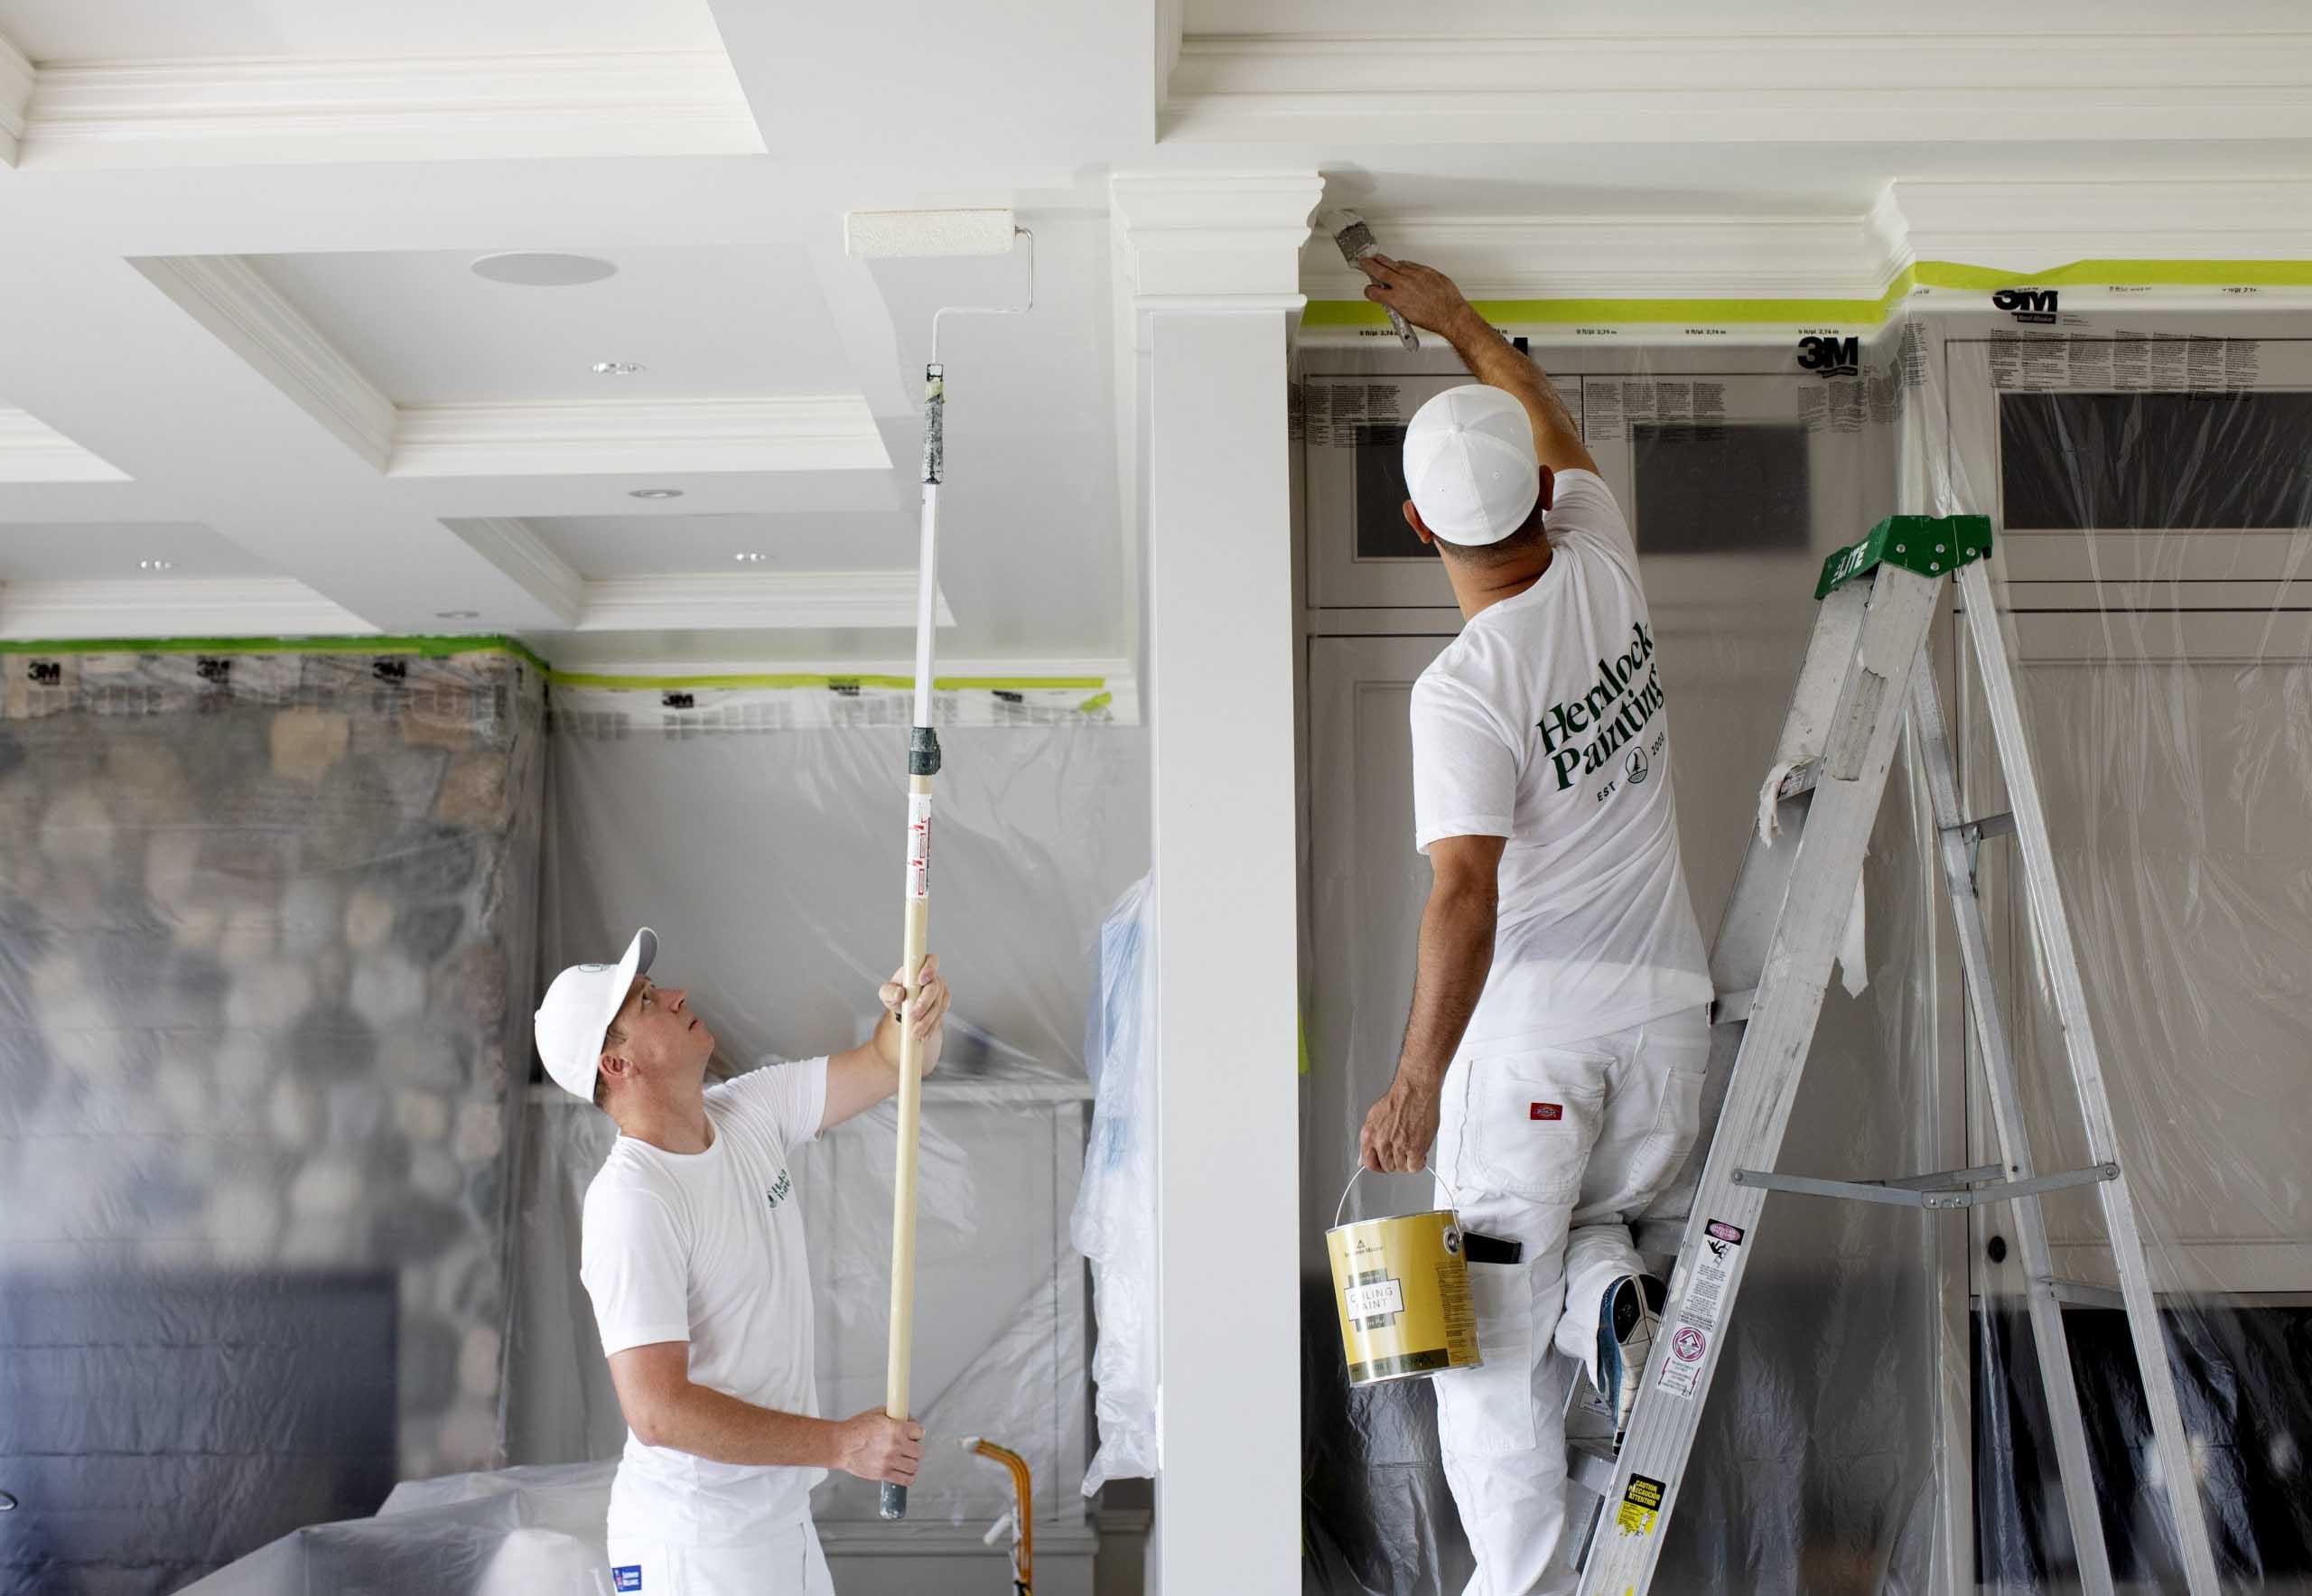
Cutting In
Cutting in is a technique used to paint the edges and corners of a room where a roller can’t reach. This step requires a steady hand and patience.
Definition and Importance:
- Cutting in involves painting a straight line along the edges of the walls, around trim, and along the ceiling. This creates a clean, professional finish.
- It’s crucial for achieving sharp, clean lines that make the final result look polished.
Techniques for Cutting In:
- Use a high-quality angled brush. Dip the brush into the paint, and tap off any excess.
- Start in a corner and work your way out. Use a steady hand and long, smooth strokes.
- If you’re not confident in your ability to cut in freehand, use painter’s tape to mask off adjacent surfaces.
Rolling the Paint
Rolling is the fastest way to cover large areas and ensures an even coat of paint. Here’s how to do it like a pro.
Choosing the Right Roller:
- The type of roller you choose depends on the surface texture. Use a short-nap roller for smooth walls and a long-nap roller for textured surfaces.
- High-quality rollers hold more paint and provide a smoother finish.
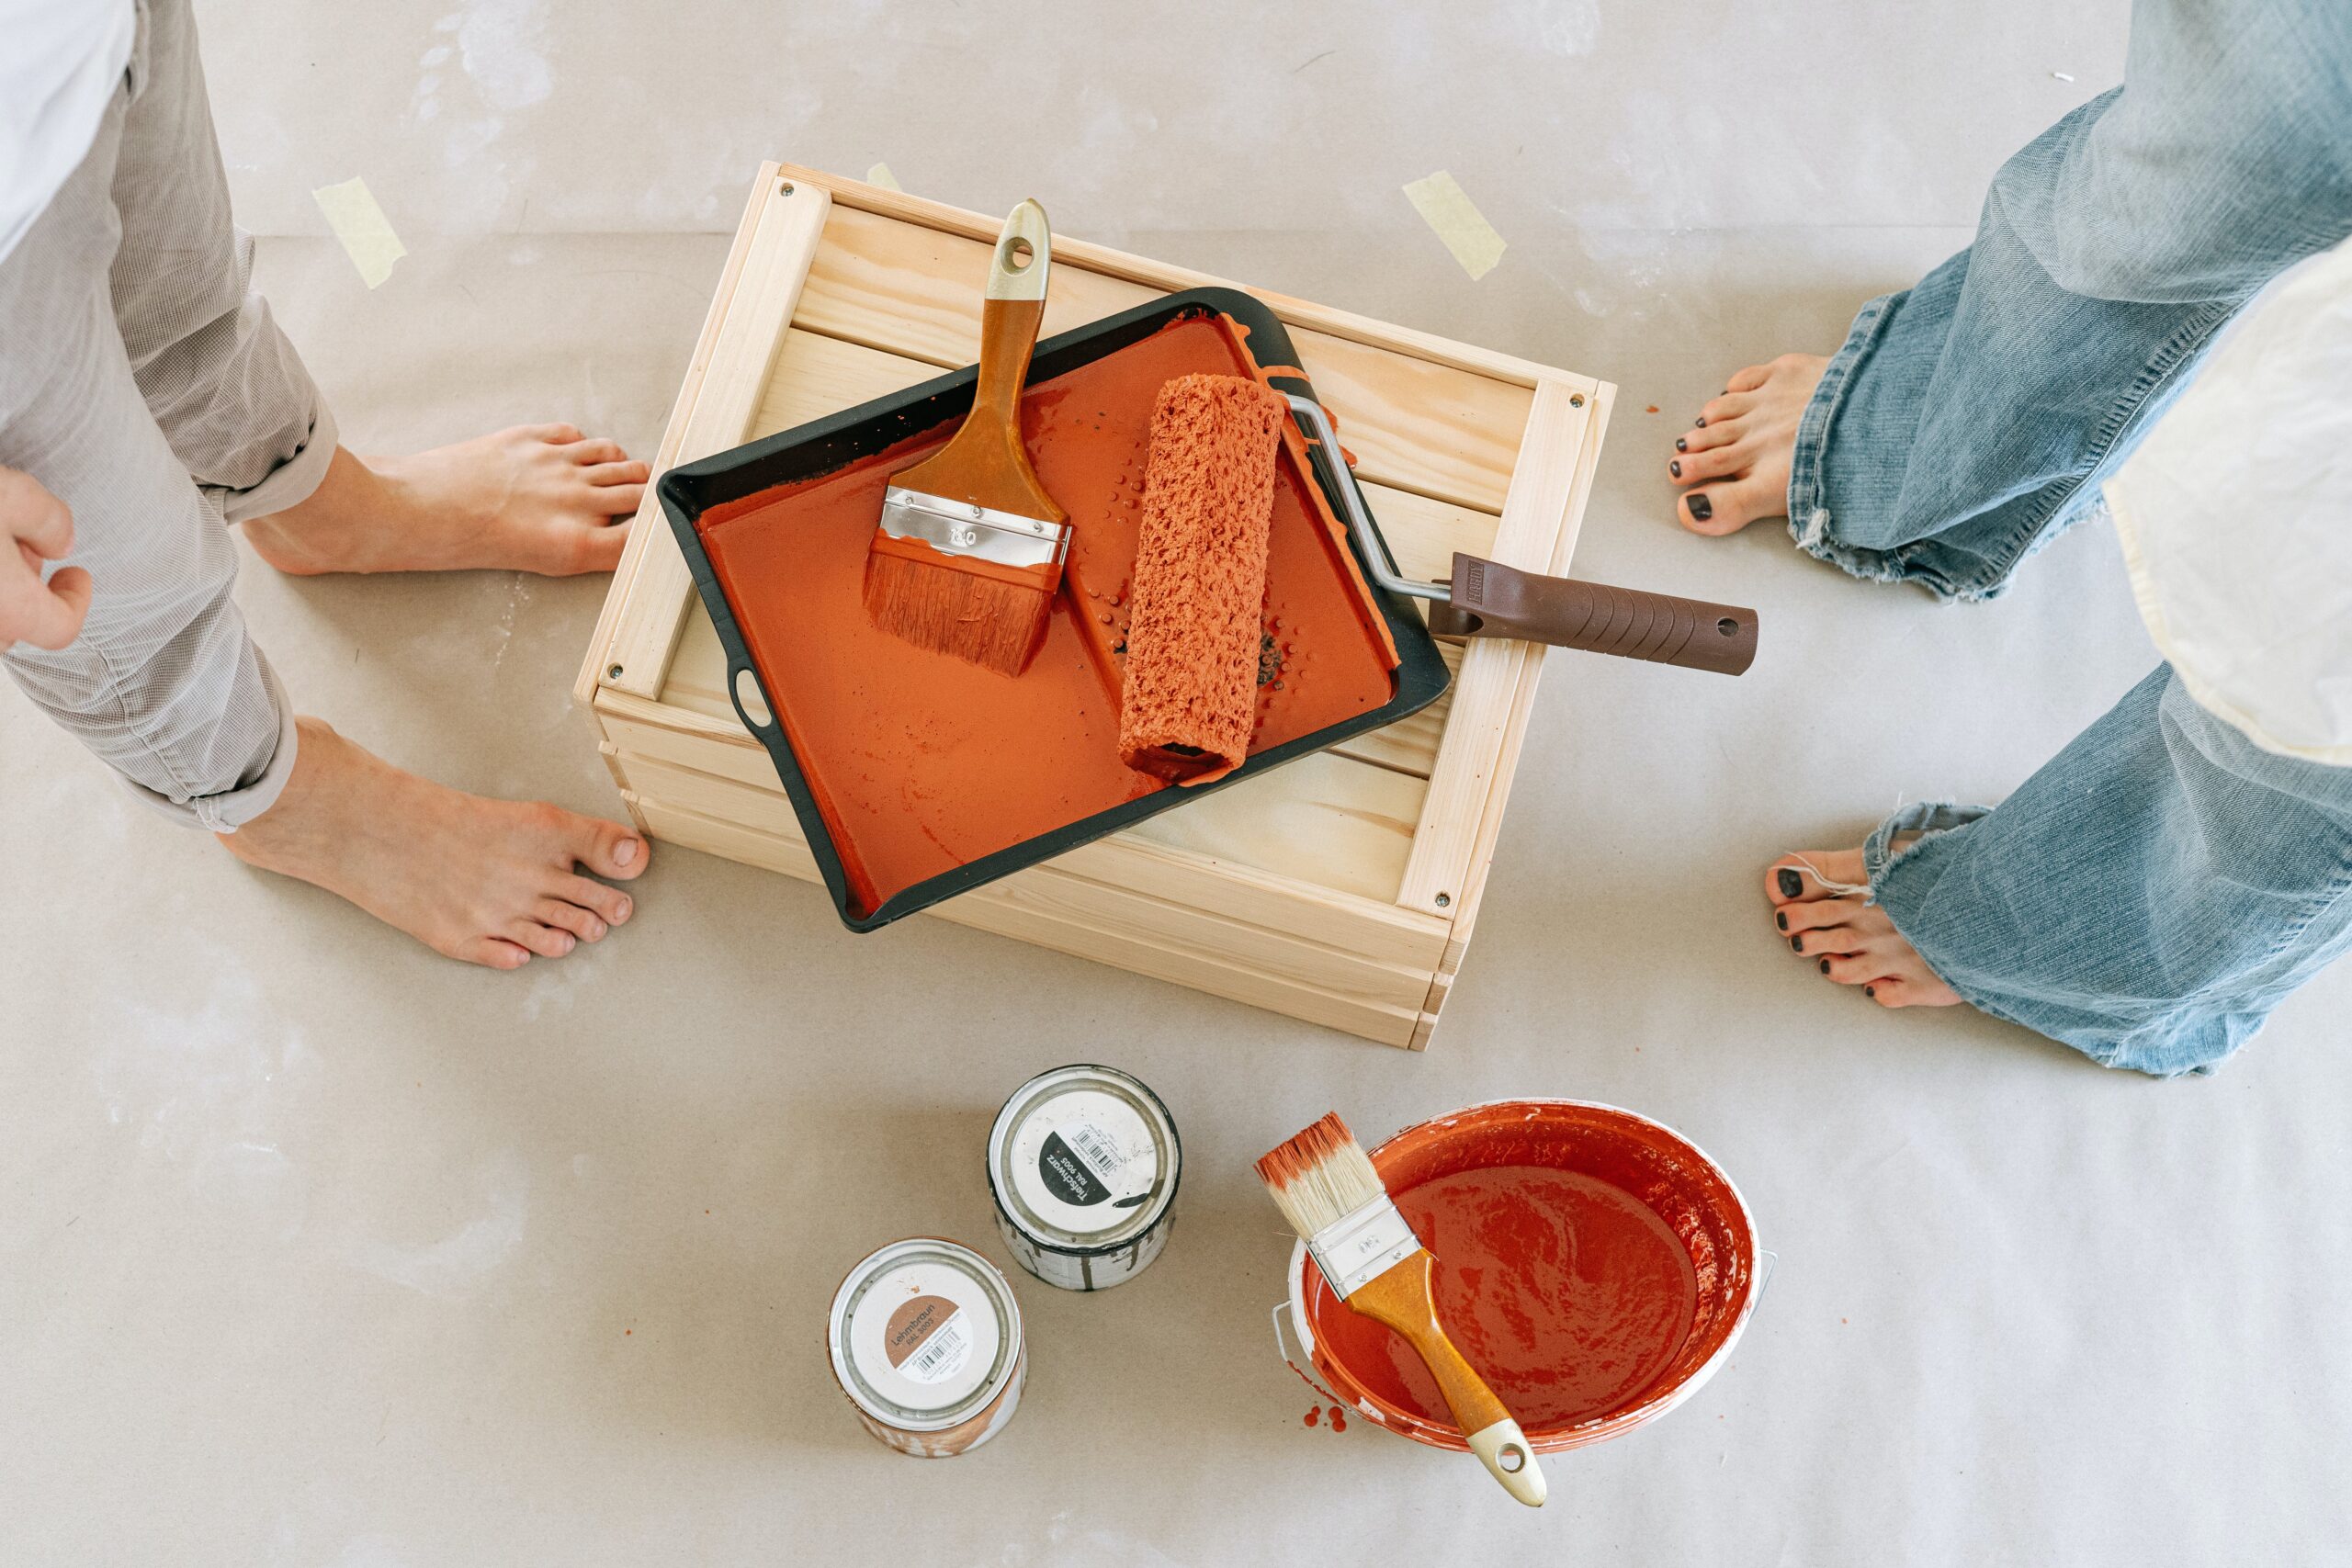
Rolling Techniques for Even Coverage:
- Pour the paint into a roller tray. Dip the roller into the paint, then roll it back and forth in the tray to evenly distribute the paint.
- Start at the top of the wall and work your way down. Use a “W” or “M” motion to spread the paint, then fill in the gaps with vertical strokes.
- Apply the paint in thin, even coats. Multiple thin coats are better than one thick coat to avoid drips and ensure a smooth finish.
Advanced Painting Tips
Dealing with Trim and Moldings
Painting Techniques for Trim
Painting trim and mouldings can be tricky, but with the right approach, you can achieve a crisp, clean finish that enhances the overall look of your room.
Steps for Painting Trim:
- Preparation: Clean the trim with a damp cloth to remove dust and grime. Lightly sand the surface to create a smooth base for the paint.
- Priming: Apply a high-quality primer to the trim, especially if it’s bare wood or stained. Let it dry completely.
- Painting: Use a high-quality, angled brush for precise control. Start at the top and work your way down, applying thin, even coats.
- Finishing Touches: After the first coat dries, lightly sand any imperfections and apply a second coat for a flawless finish.
Avoiding Paint Drips:
- Use less paint on your brush to prevent drips. Dip the brush into the paint, then tap off the excess.
- Apply paint in thin layers, building up the colour gradually.
Handling Ceilings
Painting ceilings can be a daunting task, but with the right tools and techniques, you can achieve a smooth, even finish.
Tools for Ceiling Painting:
- An extension pole for your roller to reach high areas without a ladder.
- A paint tray with a liner to hold enough paint for large areas.
- A quality roller cover designed for smooth or textured surfaces.
Techniques for Even Ceiling Coverage:
- Start by cutting in around the edges of the ceiling with a brush. This creates a border and ensures that you don’t miss any spots.
- Use a roller with an extension pole to apply paint in a “W” pattern, then fill in the gaps with horizontal strokes.
- Apply two thin coats of paint, allowing the first coat to dry completely before applying the second.
Managing Textured Walls
Textured walls can add character to a room, but they require special techniques to paint effectively.
Tools and Techniques for Textured Surfaces:
- Use a high-nap roller cover to reach into the crevices of the texture.
- Apply paint in a crisscross pattern to ensure even coverage. Roll in one direction, then roll over the same area in the opposite direction.
- For heavily textured surfaces, consider using a paint sprayer for a smoother finish.
Ensuring Even Paint Distribution:
- Apply a thick, even layer of primer before painting. This helps to seal the surface and create a uniform base.
- Use multiple thin coats of paint, allowing each coat to dry before applying the next. This prevents drips and ensures an even finish.
By mastering these advanced painting tips, you’ll be able to tackle any painting project with confidence and achieve professional results.
Post-Painting Procedures
Cleaning Up
After the painting is done, proper cleanup is essential to maintain your tools and ensure a professional finish.
Proper Disposal of Paint and Materials:
- Dispose of unused paint and materials according to local regulations. Many communities have special disposal sites for hazardous materials like paint.
- Clean brushes, rollers, and other tools with soap and water (for latex paint) or the appropriate solvent (for oil-based paint).
Cleaning Brushes and Rollers:
- Remove excess paint by wiping the brushes and rollers on old newspapers or rags.
- Clean brushes by rinsing them under running water or soaking them in a solvent. Use a brush comb to remove any dried paint from the bristles.
- Rollers can be cleaned by rolling them back and forth in a tray filled with the appropriate cleaning solution. Rinse them thoroughly and let them dry completely before storing.
Inspecting the Finished Work
Once the paint is dry, it’s time to inspect your work and make any necessary touch-ups.
Checking for Flaws and Touch-Ups:
- Look for any missed spots, streaks, or drips. Use a small brush to touch up these areas.
- Check for even coverage and consistent colour. If necessary, apply a second coat to ensure a uniform finish.
Ensuring Even Coverage and Colour Consistency:
- View the painted surfaces from different angles and under different lighting conditions to spot any imperfections.
- Use the same batch of paint for touch-ups to ensure colour consistency. If you need more paint, mix new cans together to avoid slight colour variations.
Maintenance Tips
Maintaining your newly painted surfaces will help keep them looking fresh and vibrant for years to come.
Tips for Long-Lasting Paint:
- Clean painted surfaces regularly with a damp cloth to remove dust and dirt.
- Avoid harsh cleaners that can damage the paint. Use a mild detergent if necessary.
How to Handle Future Touch-Ups:
- Keep some leftover paint for future touch-ups. Store it in a cool, dry place and label it with the room and date.
- When touching up, feather the edges of the new paint into the existing paint to blend seamlessly.
Common Problems and Solutions
Fixing Uneven Coverage
Uneven coverage is a common issue that can detract from the overall look of your paint job. Here’s how to fix it:
Causes and Solutions:
- Insufficient Paint: Apply additional coats of paint to achieve the desired coverage.
- Improper Technique: Use consistent pressure and strokes when applying paint. Consider using a higher-quality roller or brush for better results.
Addressing Paint Streaks
Paint streaks can ruin the appearance of your walls. Prevent and correct them with these tips:
Preventing and Correcting Streaks:
- Proper Technique: Use long, even strokes when painting. Avoid pressing too hard on the roller or brush.
- Blending: Feather the edges of each stroke to blend the paint seamlessly. If streaks occur, lightly sand the area and apply another coat of paint.
Dealing with Peeling Paint
Peeling paint can be frustrating, but it’s fixable with the right approach:
Reasons for Peeling and How to Fix It:
- Poor Surface Preparation: Ensure the surface is clean, dry, and properly primed before painting.
- Moisture: Address any underlying moisture issues, such as leaks or high humidity, before repainting.
- Repair: Scrape off the peeling paint, sand the area smooth, and apply a primer before repainting.
Transform Your Home with Hemlock Painting!
Ready to give your home a makeover? Trust Hemlock Painting for a flawless finish that lasts. Our team of experts in Vancouver brings precision, creativity, and high-quality materials to every project, ensuring your satisfaction from start to finish.
Don’t settle for less. Experience professional painting that elevates your space. Request your free estimate today and let Hemlock Painting turn your vision into reality.

Conclusion
Recap of the Professional Painting Process
In this guide, we’ve covered the entire professional interior painting process, from preparation to final touches. By following these steps, you can achieve a flawless finish that enhances the beauty and value of your home.
Final Tips for a Successful Paint Job
Remember to:
- Take your time with preparation.
- Choose high-quality paint and tools.
- Use proper techniques for a smooth, even finish.
Frequently Asked Questions
1. What is the best type of paint for high-traffic areas?
For high-traffic areas, the best type of paint is satin or semi-gloss finish. These finishes are durable and easy to clean, making them ideal for areas like hallways, kitchens, and bathrooms. Satin paint offers a smooth, velvety finish that resists dirt and stains, while semi-gloss has a higher sheen and is even more resistant to moisture and wear.
2. How long should I wait between coats of paint?
The drying time between coats of paint can vary depending on the type of paint used, the humidity, and the temperature. However, a general rule of thumb is to wait at least 2 to 4 hours between coats for latex (water-based) paint. For oil-based paint, it’s best to wait 24 hours. Always refer to the manufacturer’s recommendations on the paint can for the most accurate guidance.
3. Can I paint over wallpaper, or should it be removed?
While it is possible to paint over wallpaper, it’s generally recommended to remove the wallpaper first for the best results. Painting over wallpaper can lead to peeling and bubbling, especially if the wallpaper is old or damaged. If you decide to paint over wallpaper:
- Ensure the wallpaper is firmly adhered to the wall.
- Clean the wallpaper thoroughly.
- Apply a high-quality primer designed for use over wallpaper.
4. How can I prevent paint fumes from lingering in my home?
To minimize paint fumes, follow these tips:
- Ventilate the Area: Open windows and use fans to circulate fresh air.
- Use Low-VOC Paints: Choose paints with low or no volatile organic compounds (VOCs).
- Air Purifiers: Use air purifiers with activated carbon filters to absorb and neutralize fumes.
- Baking Soda: Place bowls of baking soda around the room to absorb odours.
- Onions: Cut onions and place them in bowls of water around the room; they can help neutralize paint fumes.
5. What is the average cost of hiring professional painters?
The cost of hiring professional painters can vary widely based on factors such as the size of the project, the type of paint used, and the region. On average, you can expect to pay:
- Per Room: $300 to $800 CAD for a standard room.
- Per Square Foot: $2 to $6 CAD per square foot.
- Whole House: $1,500 to $5,000 CAD for an entire home, depending on the size and scope of the project. For an accurate estimate, it’s best to get quotes from multiple painting contractors in your area.